This webpage is devoted to ukuleles I have built. Ukuleles that we have purchased can be viewed (and listened to) on Mike’s Ukulele Page. Prior to this, I had never tried making anything nearly as complicated. I learned a lot from YouTube videos and from posts on the Ukulele Underground forum. Undoubtedly, some of the things I learned were misunderstood or misapplied, and, as always with the internet, it’s possible some of the things should have been better left unlearned. To start at the beginning of the journey, scroll down to the bottom. Things are arranged chronologically, with the most recent updates at the top. Apologies to those who noticed that I leapt back in time after posting in early March and then added entries for late February. The latter should have been March, and I’ve corrected the entries.
Claro walnut ukulele
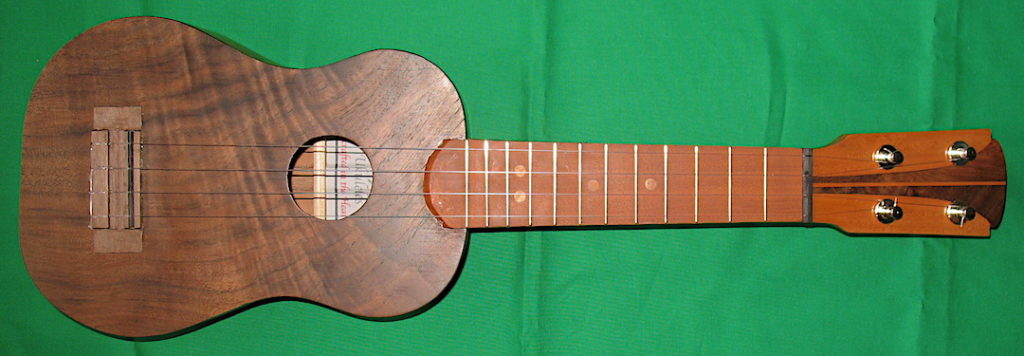
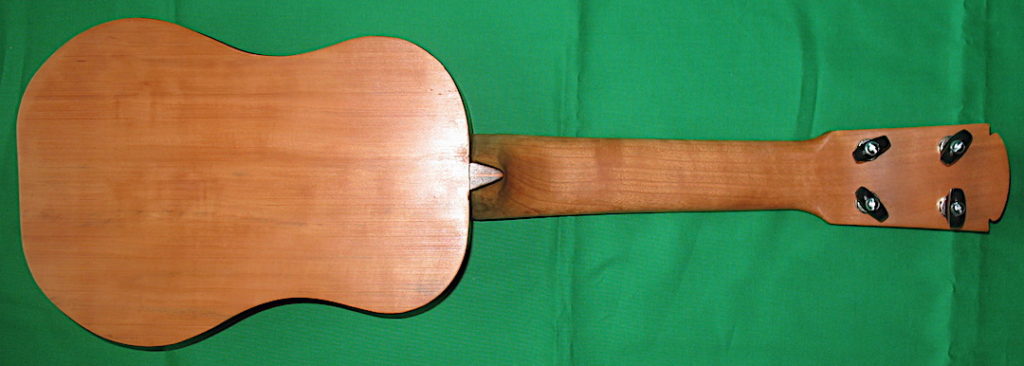
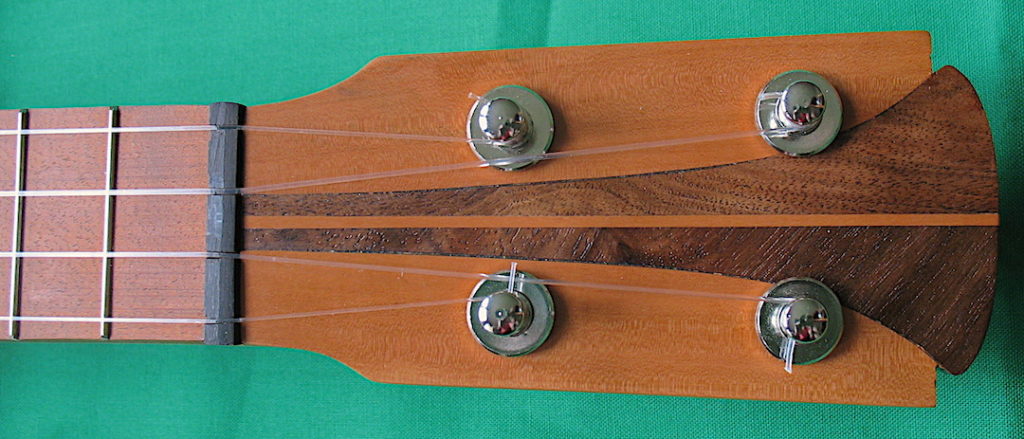
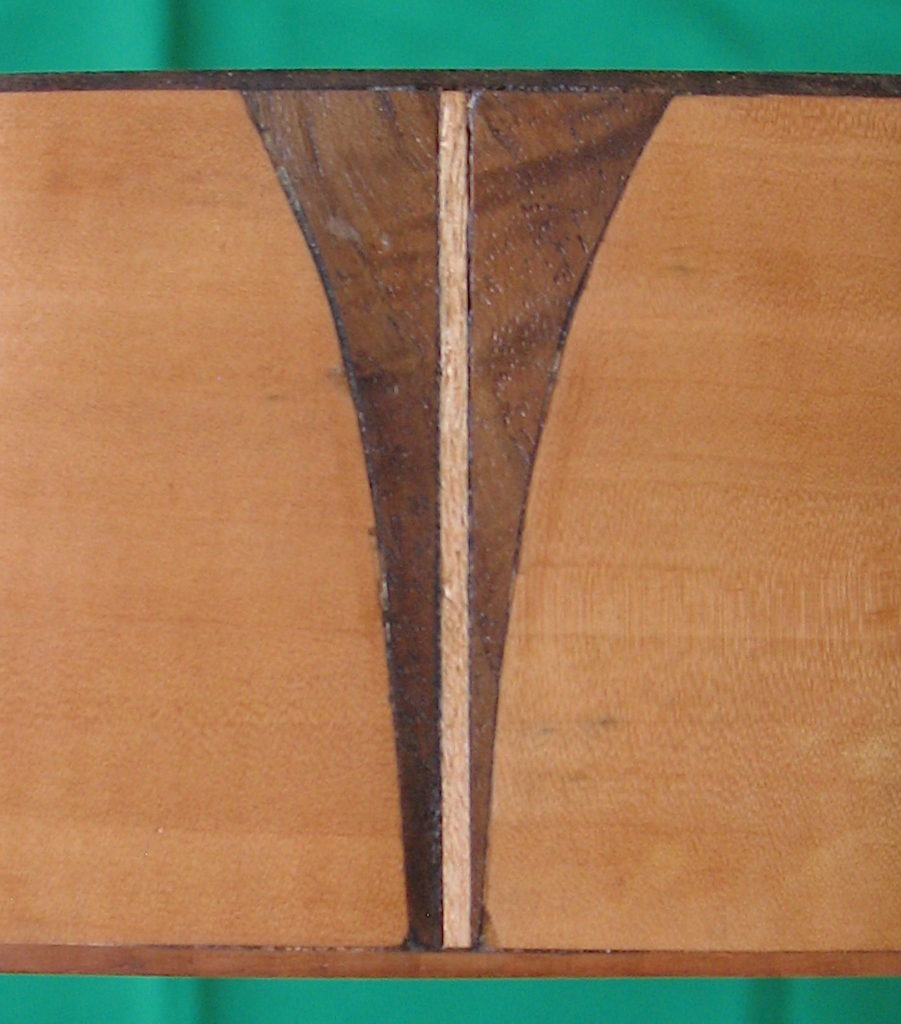
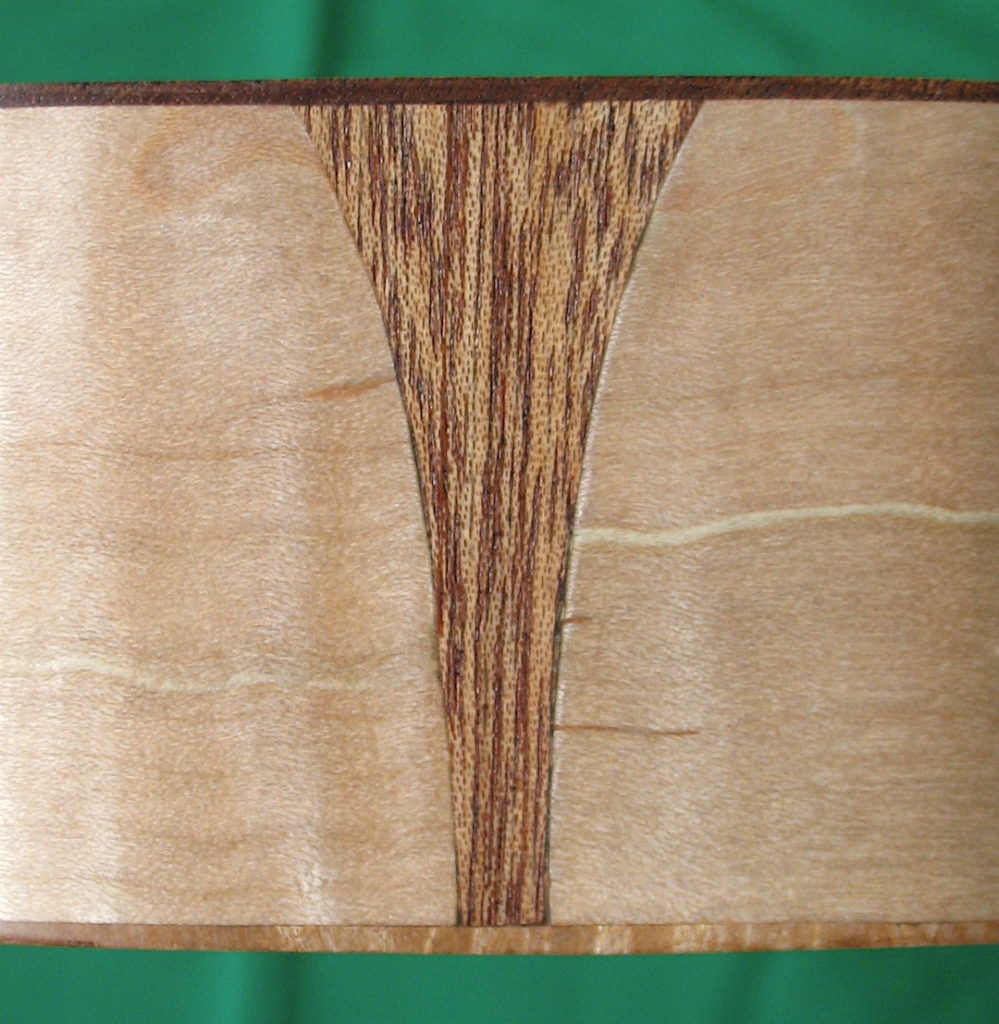
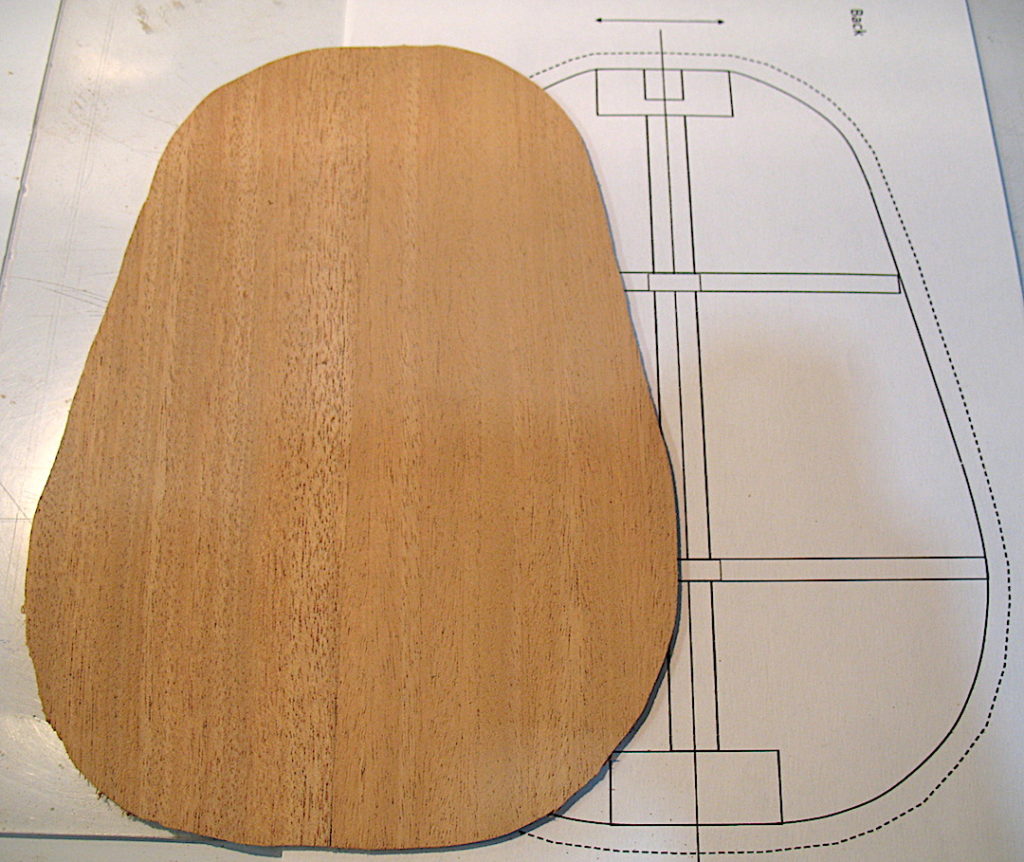
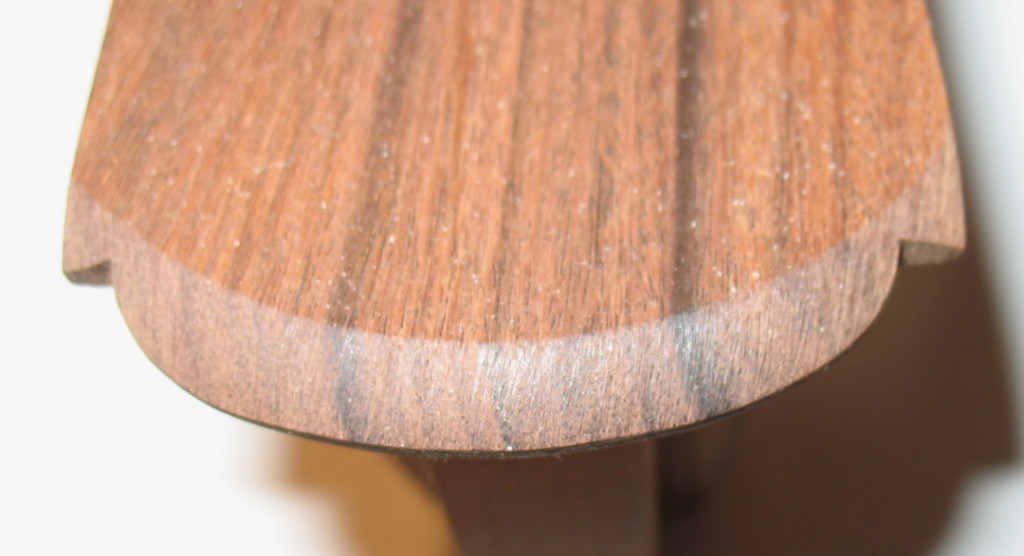
9 Jun 2019: I completed this soprano ukulele in May of 2019 (at the same time as the mahogany soprano below). The wood used in this ukulele was donated by my uncle, Gerry and consists of the following: Claro walnut top, European pear sides and back, unidentified wood fretboard, cherry neck, pear and walnut headstock, ebony saddle and nut, and ohi’a bridge. The fret markers are maple, and the side dots (at the 3rd, 5th, 7th, and 10th frets) are toothpicks. Someone once said it’s nice to see the hands of the maker on an object. Well, they’re plenty apparent on this one: notice the off-center dividing stripe on the tail stripe (walnut and pear) and the off-center sound hole. Also, the bridge isn’t parallel to the tail, although it is correctly positioned relative to the nut to achieve the proper scale length. The fact that they aren’t parallel is a sign that the sides aren’t symmetrical. I used four coats of Tru-Oil as a finish, which turned out to be much more forgiving than varnish. The ukulele has Grover Champion friction pegs and Oasis warm high G fluorocarbon strings. The sound clip is a strummed version of Hi’ilawe.
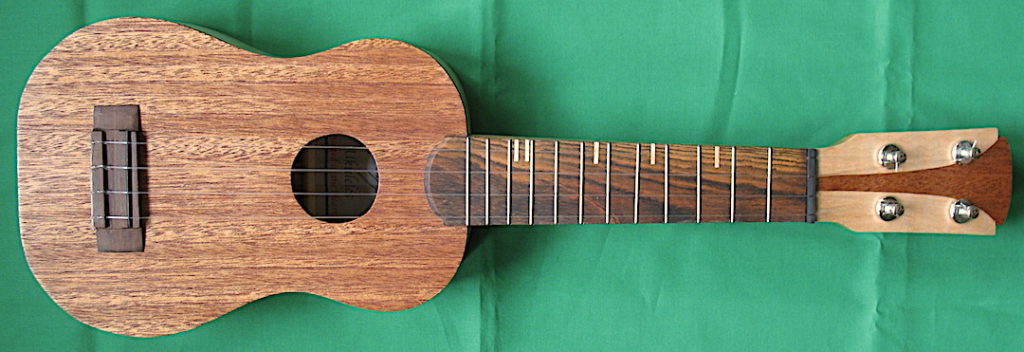
Mahogany ukulele
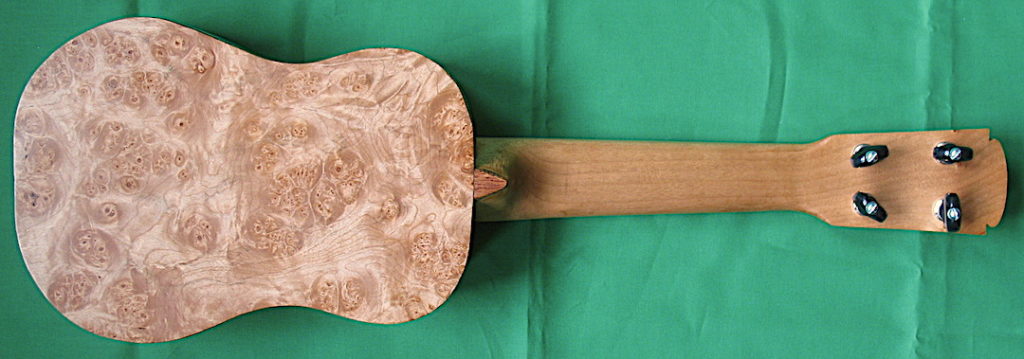
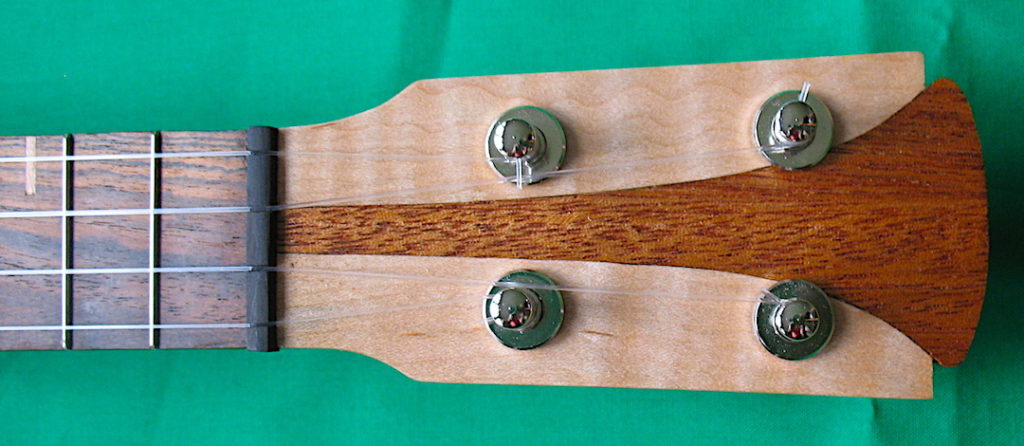
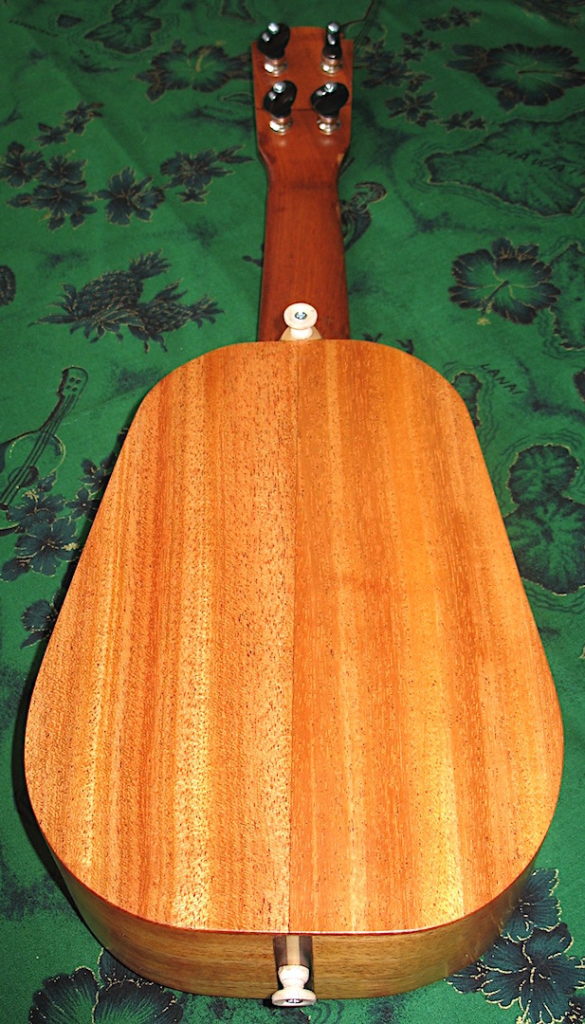
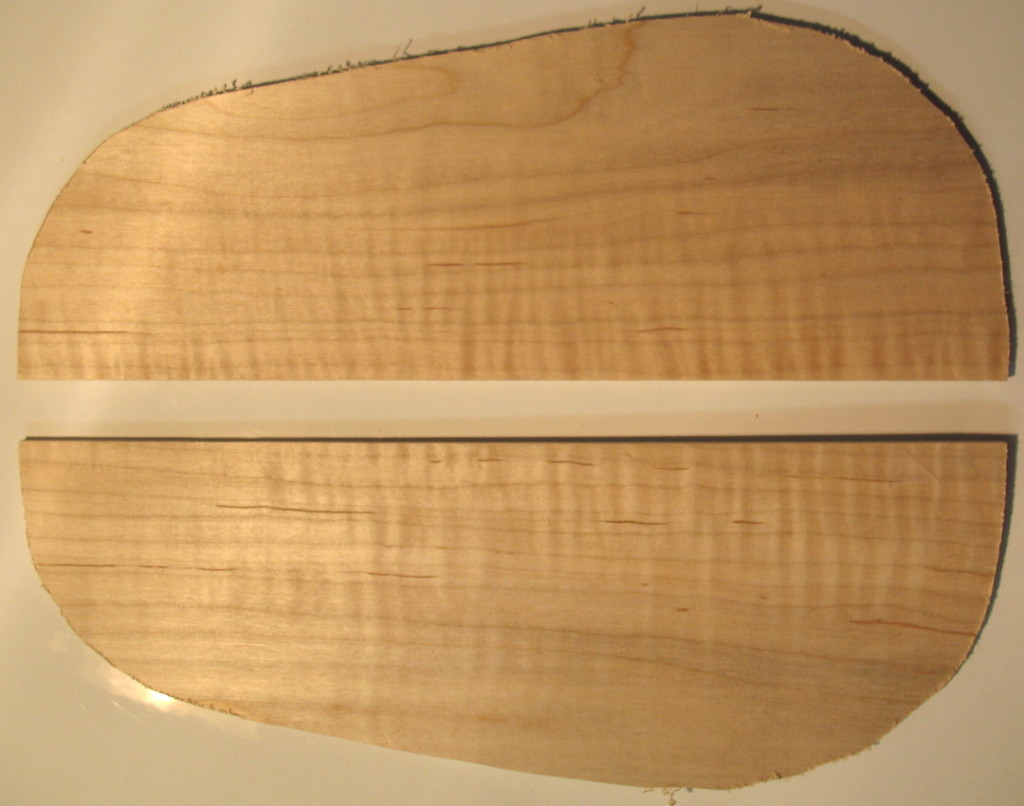
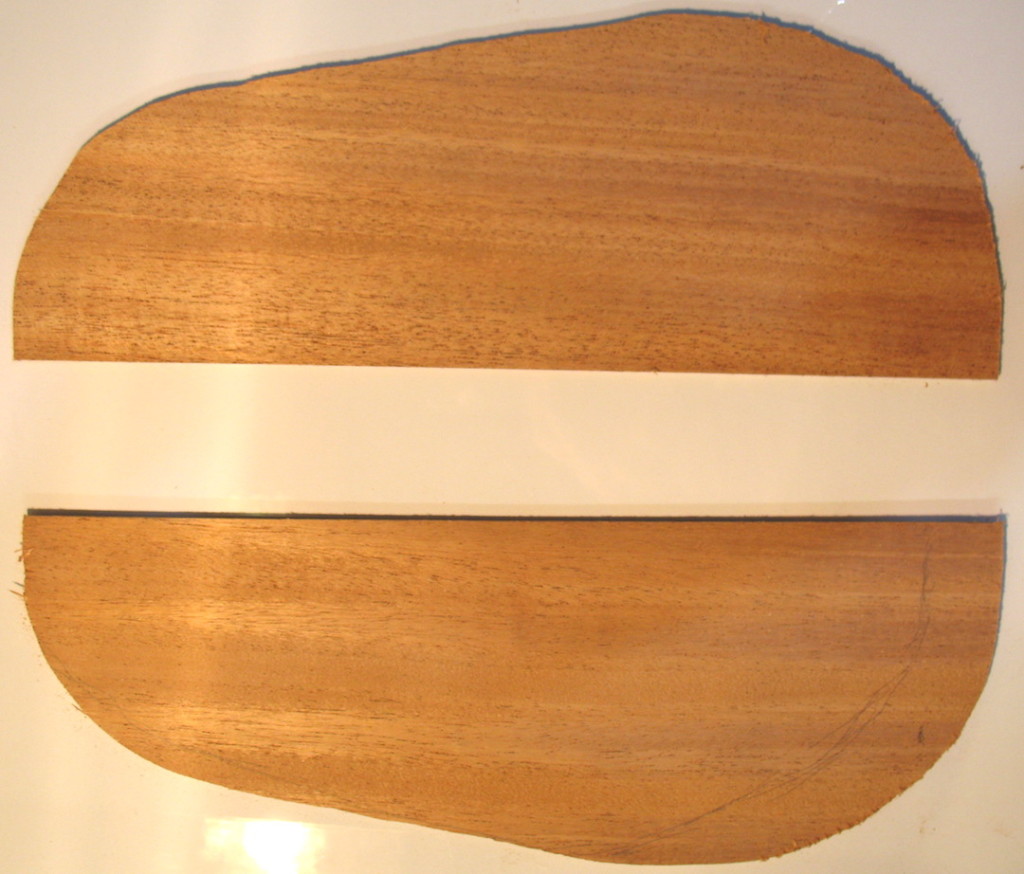
9 Jun 2019: This soprano was made of a combination of store-bought and donated woods (from my uncle, Gerry). The purchased woods are curly maple for the sides, mahogany for the top, and curly maple and mahogany for the headstock. Top and sides are made of two pieces. The donated woods are an amazing burled maple for the back, bocote for the fretboard, maple for the neck, ebony nut and saddle, and an unidentified wood (possibly rosewood or similar species) for the bridge. The fretboard was a little thinner than the ones on my other ukuleles, and I was very reluctant to drill holes for side dots. Instead, I chose to cut rectangular slots for maple fret markers (3rd, 5th, 7th, and 10th frets). The finish is four coats of Tru-Oil. The ukulele has Grover Champion friction pegs and Oasis warm high G fluorocarbon strings. The sound clip is a strummed version of Hi’ilawe.
Pineapple-shaped ukulele number 2
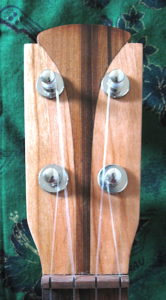
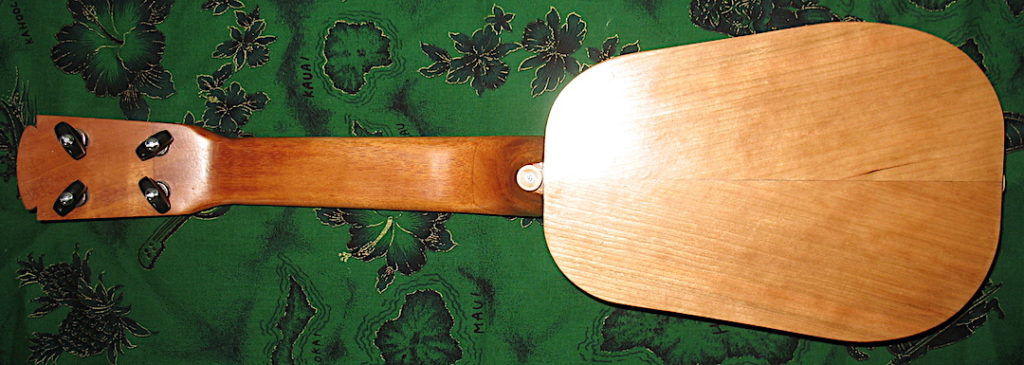
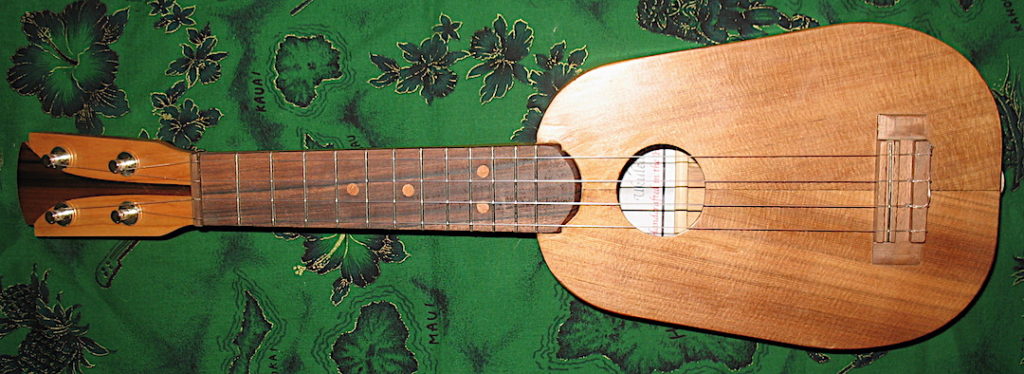
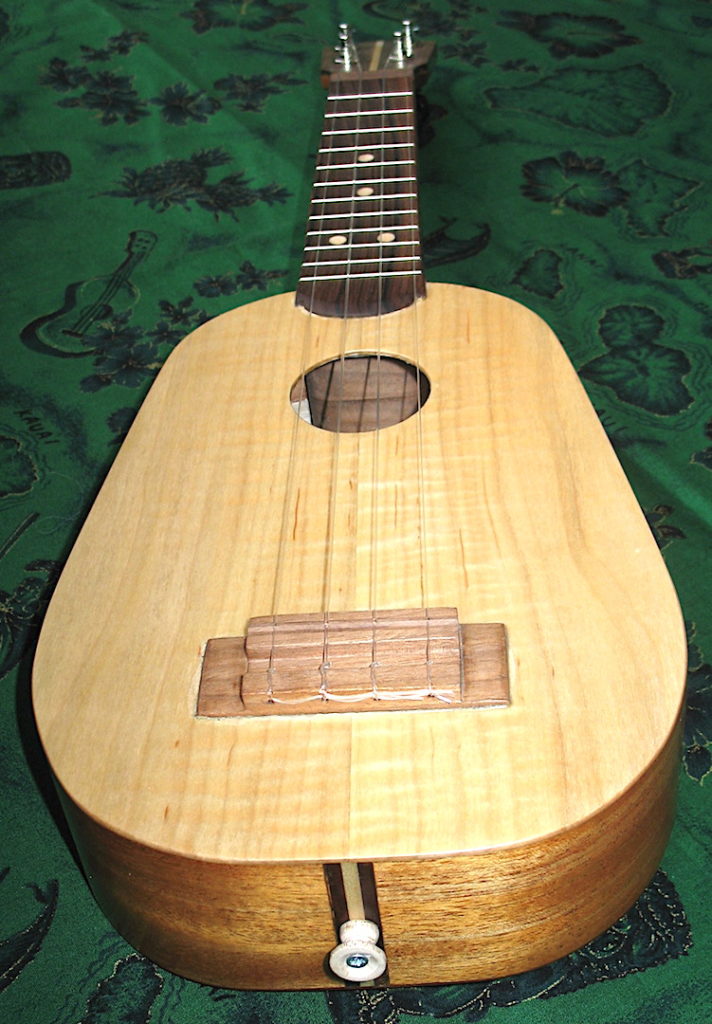
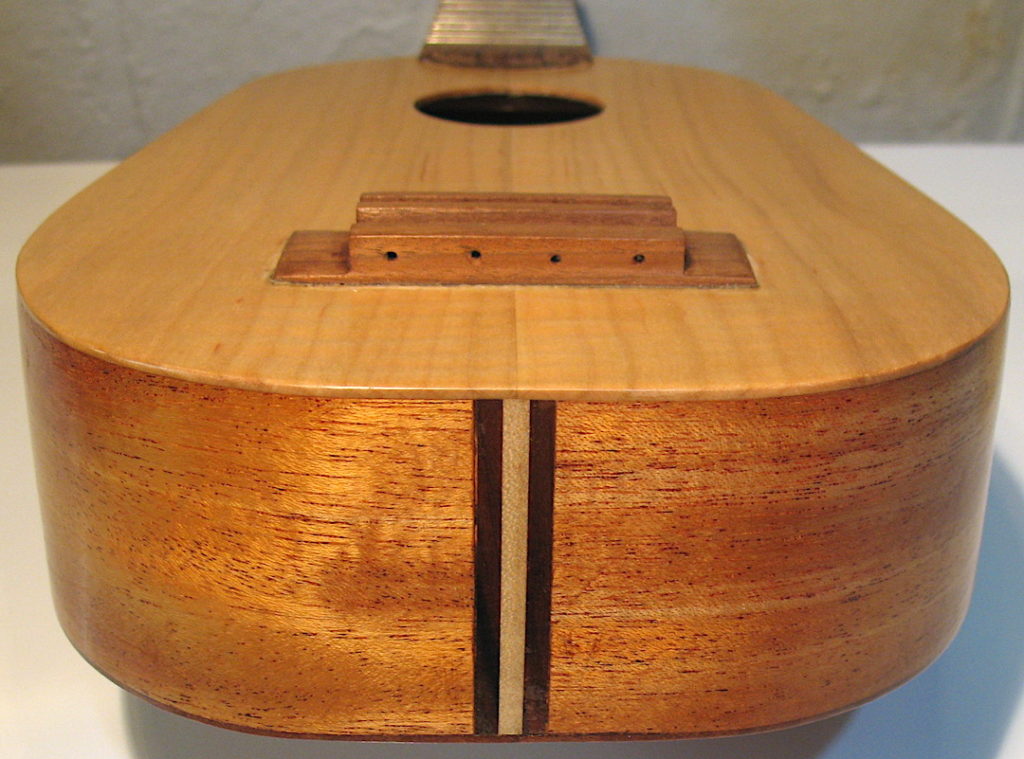
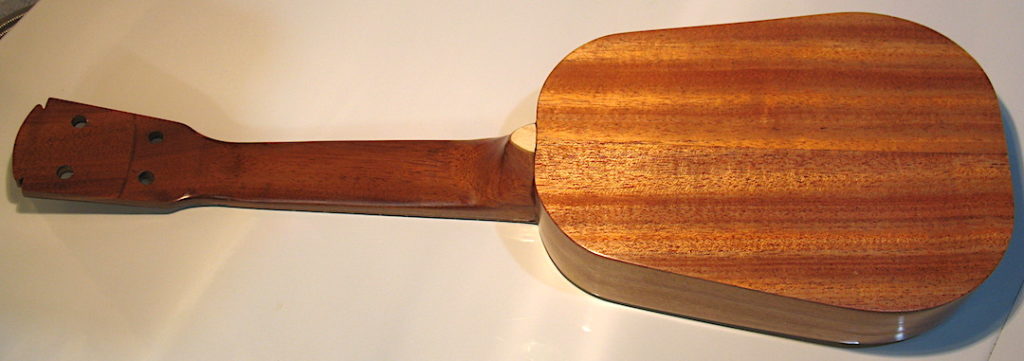
5 Dec 2018: My second ukulele was inspired by some scrap pieces of cedar shakes in the attic of our 94-year old house. The exterior walls of the house are entirely made of cedar shakes, and some of the rejects were thoughtfully left in the attic. One late spring day, I rooted around until I found several pieces of the right size without cracks or other defects. Two of those pieces became the top board of the ukulele. I also used cedar for accent on the headstock, tail stripe, and heel cap. The sides and bottom are cherry, and the neck and bridge are mahogany. The saddle and nut are rosewood, as is the fretboard, with cherry fret markers on top and toothpicks on the side. I discovered with the first ukulele that the rosewood saddle, after use, developed slight divots under the strings, either from compression or wear. To avoid that, I added a spare piece of fret wire to the top of the saddle (after successfully doing the same on the saddle of the first ukulele). Completing the ukulele are Grover Champion friction pegs and Martin M600 fluorocarbon strings. The ukulele sounds somewhat warmer and louder than my first ukulele, which I attribute, in part, to the cedar tone wood.
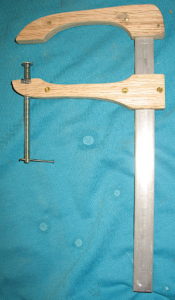
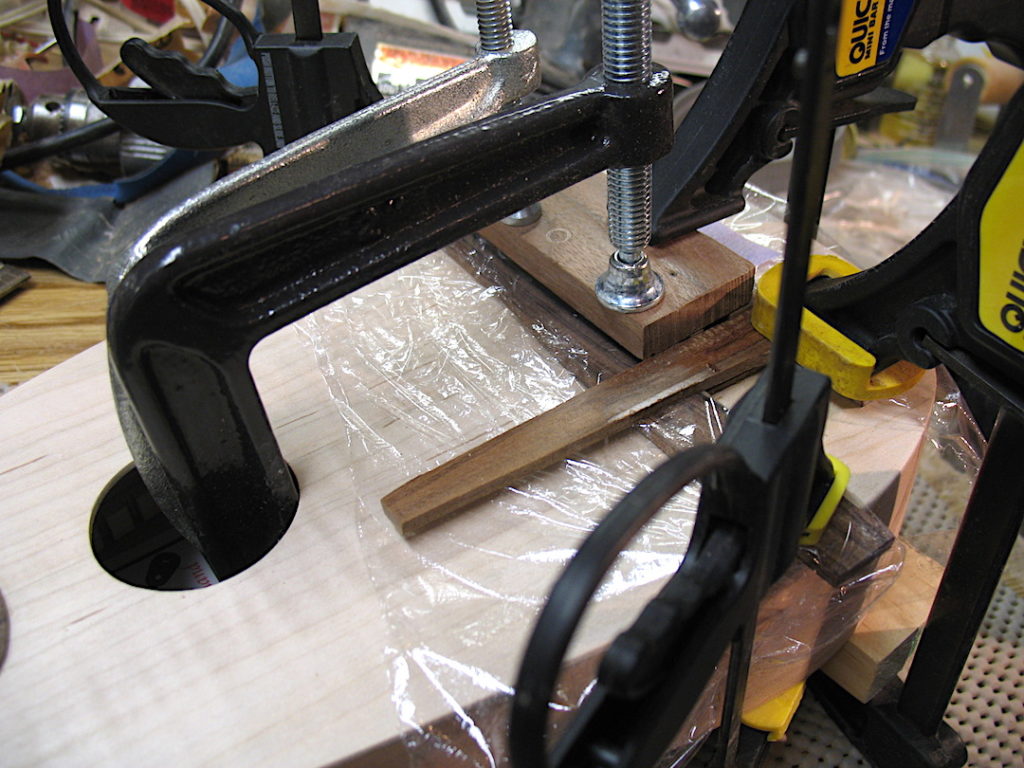
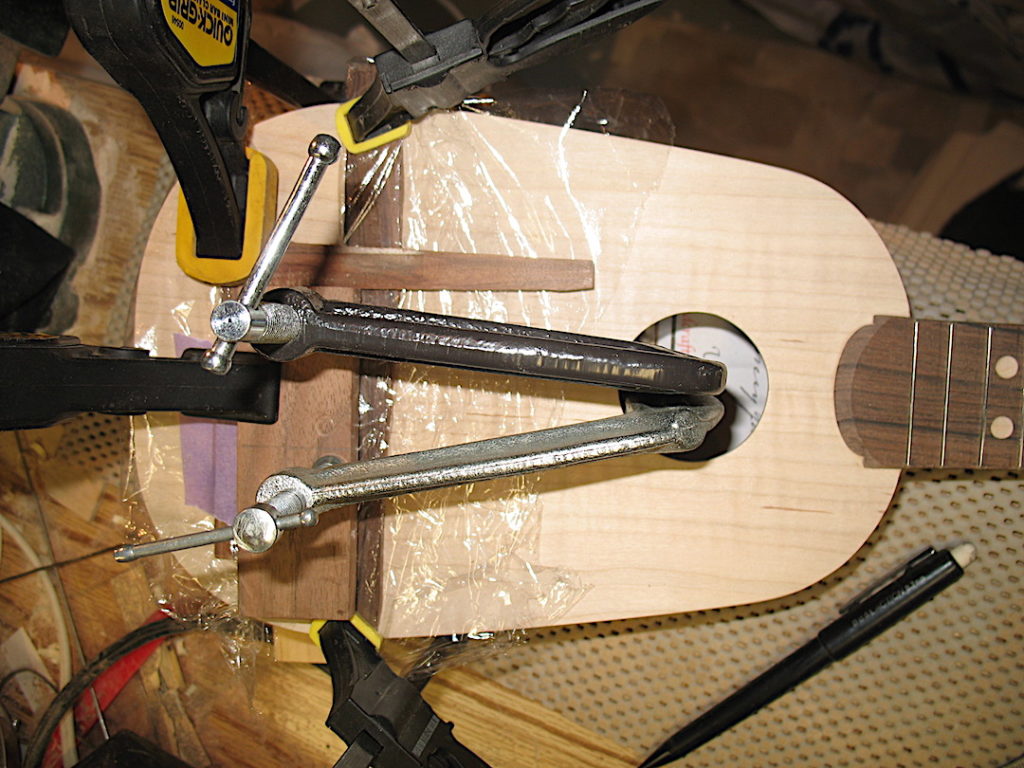
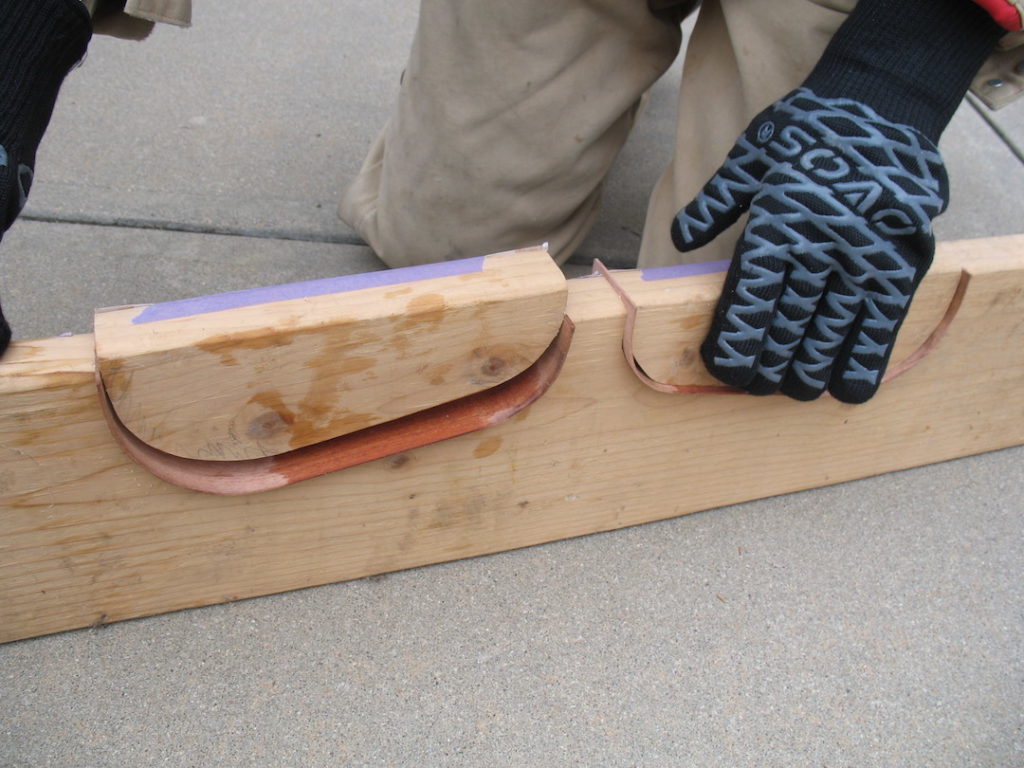
5 Dec 2018: As mentioned below, I had trouble clamping the bridge to the top board because my clamps were not quite deep enough. I solved that problem for my second ukulele by making my own bridge clamp. It did the trick.
Pineapple-shaped ukulele number 1
29 Apr 2018: The sound clip above has the following: gCEA tuning, a strummed version of the intro to Israel Kamakawiwo’ole’s Over the Rainbow, a finger style version of the intro to Over the Rainbow, and a strummed version of Hi’ilawe. The second coming of Bruddah Iz or a Jake Shimabukuro wanna-be, I’m not!
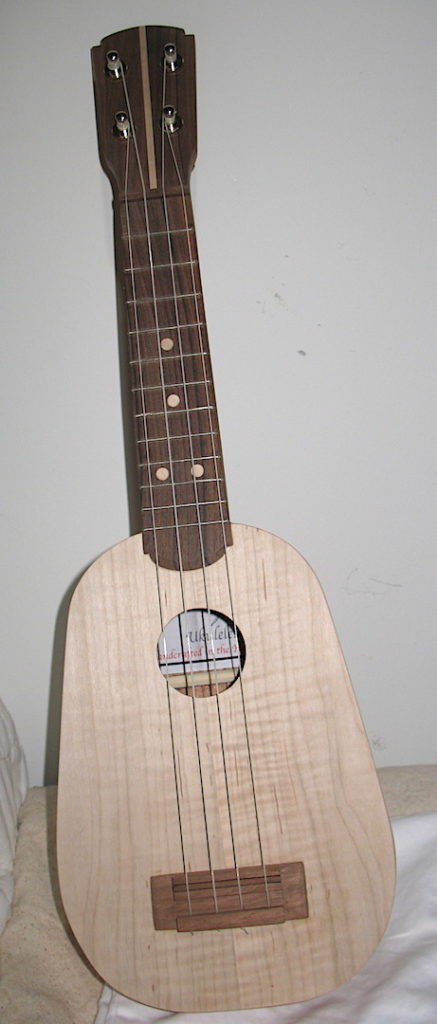
22 Apr 2018: The completed project. I initially put D’Addario EJ88 strings on it that I had salvaged from my Lanikai ukulele when I swapped the strings for Martin fluorocarbons. I finished fine-tuning the setup with the D’Addario strings. I had a slight problem with buzzing from the open 4thstring (high G). The buzz disappeared when I fretted up the neck, so I was able to narrow down the source to the nut. After cutting the nut slot so that it was deeper towards the tuner, the buzz went away. When trying to restring with the D’Addarios, I wasn’t able to get the 2ndstring to catch in the tuning peg (it kept slipping out, because there wasn’t enough slack). A trip to Dietz Music for a new set of Martin M600 fluorocarbon strings, and the uke is ready to go. Although the strings are still settling in, I can easily tell the difference between the Martins and the D’Addarios and greatly prefer the former, which seem much brighter. After the strings have settled in, I’ll post a sound clip of the ukulele.
As a rough estimate, I believe I spent around 125 hours building the ukulele, with perhaps another 10-20 hours designing and doing research. It would take going through our credit card statements to figure out how much I spent on materials, supplies and tools (some of which I’m unlikely to use on anything but another ukulele project). I wouldn’t be shocked if the bill came to $300. If you consider that $300 will buy a very nice ukulele, I’m not sure that the economics of my project made a lot of sense. However, the whole experience was rewarding enough that this may not be the last Chauncey Jerome ukulele.
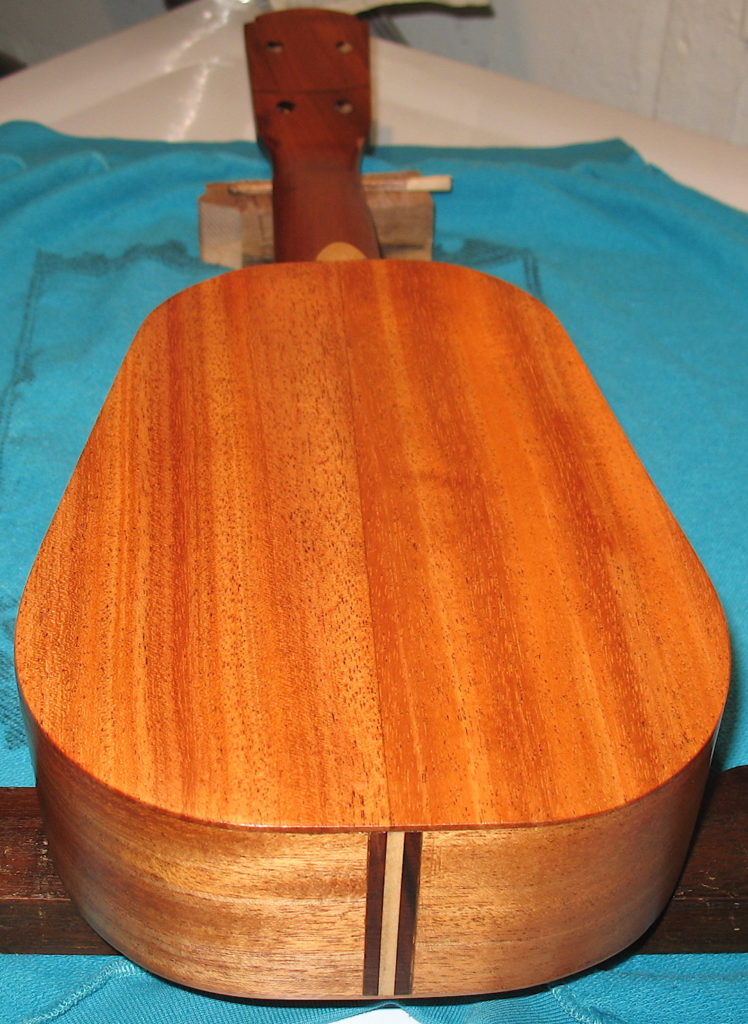
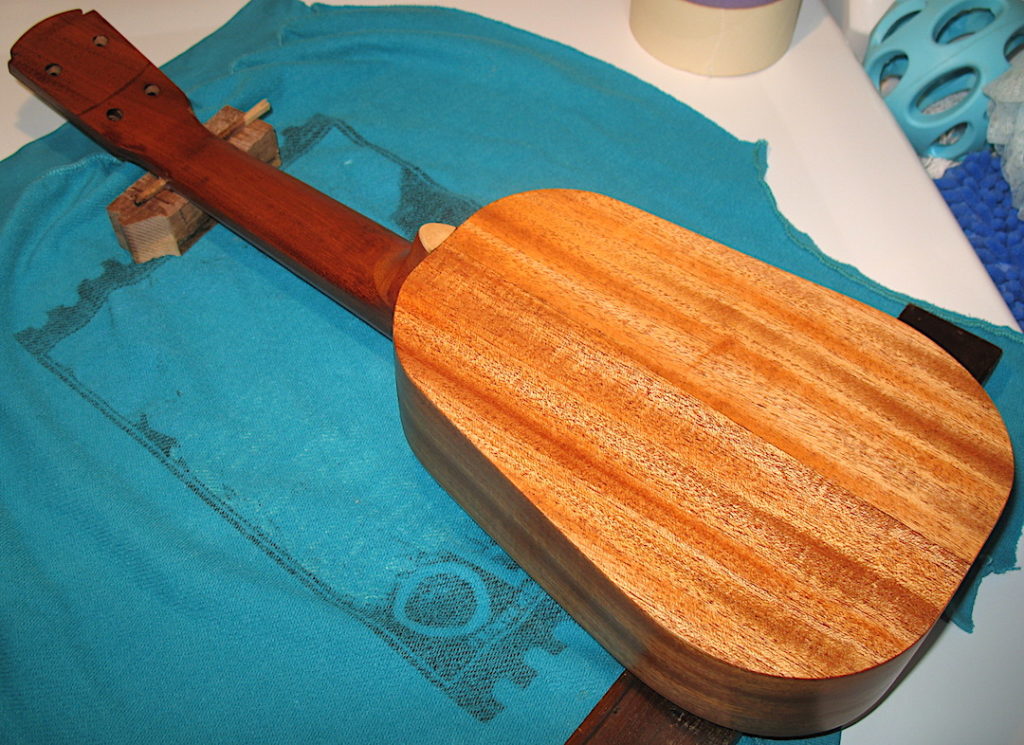
18 Apr 2018: The end is near (not in an Armageddon sense, I hope)! The finish coats are done. I went with four coats for the body and three for the neck. After I applied one coat to the rosewood headstock overlay, I was puzzled that the varnish wasn’t drying nearly as fast as the coat applied to the mahogany and maple. Even after 36 hours it was still very tacky to the touch. A little Google searching revealed that the natural oils in rosewood inhibit the curing of most finishes. Apparently shellac is about the only finish that will adhere and cure properly. I could have used a base coat of shellac and then topped it with urethane varnish but instead decided to buff out the varnish with 0000 steel wool and Black Wax (carnauba wax with a mild abrasive). The top coat of varnish on the rest of the uke was also buffed using 0000 steel wool and Black Wax.
15 Apr 2018: A couple of views of the uke after three coats of varnish (still drying). Prior to applying varnish, I sanded with various grits (150, 220, 320, 400). These finish sanding steps followed use of coarser grits (60, 80, or 100, depending on what I was doing) during earlier steps in construction. In between coats, I sanded lightly with 220 grit sandpaper (following the varnish maker’s instructions). I discovered that, despite what seemed like a lot of sanding, a few areas apparently retained some glue (either hide glue or carpenters glue). So, I ended up with some small areas that didn’t take the varnish in the same way the wood did.
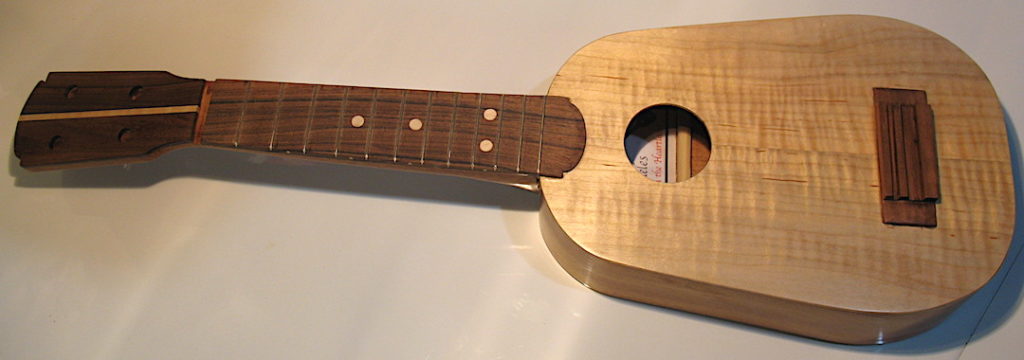
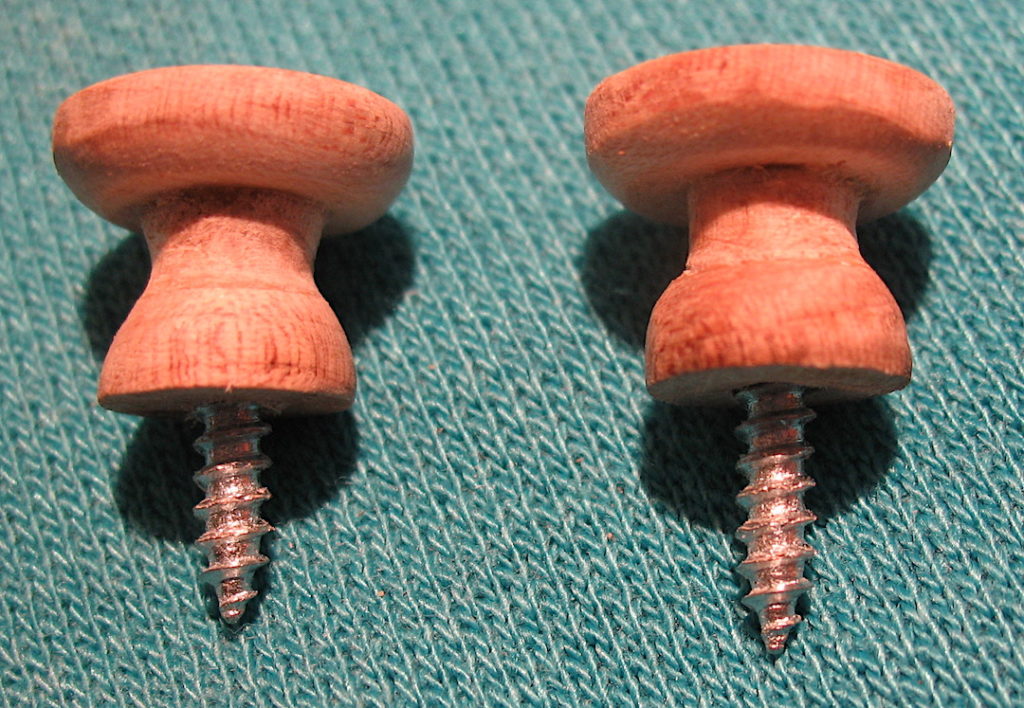
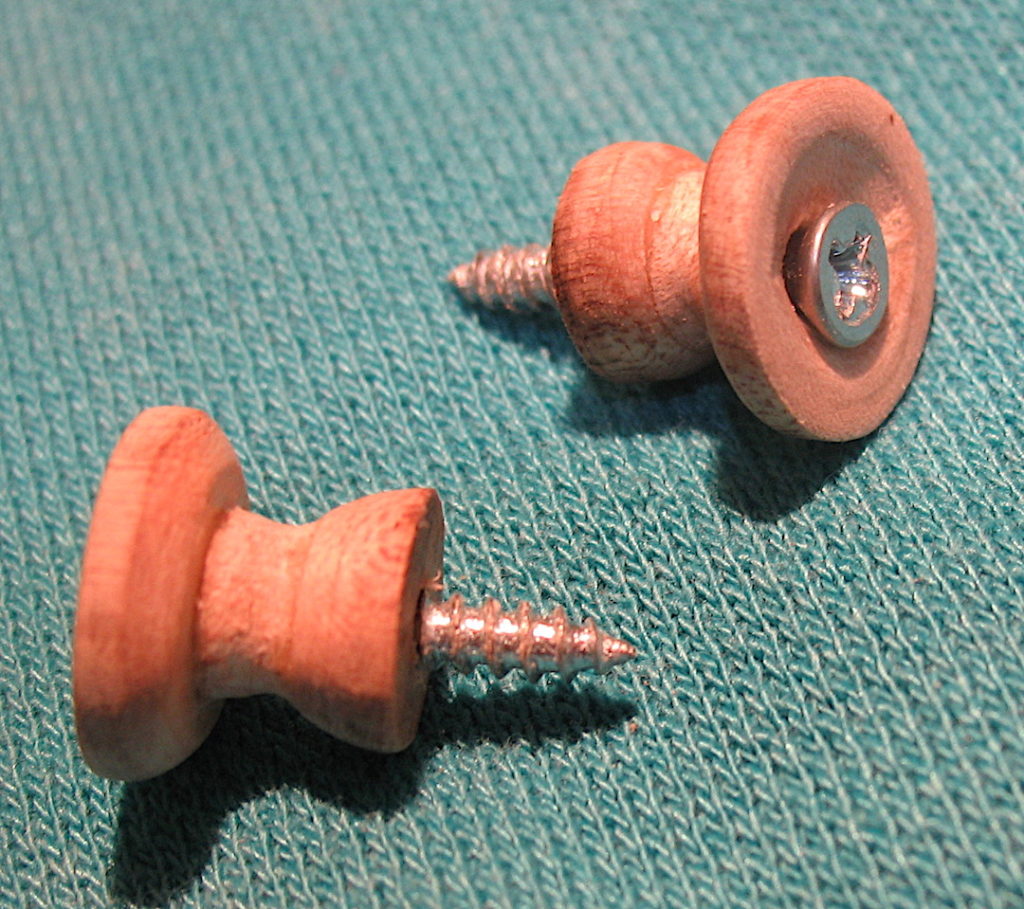
14 Apr 2018: Started varnishing the ukulele. I’m using an oil-based urethane varnish. It supposedly has an “ambering” effect which should add a little bit of color to the maple top. My intent is to go with three coats of varnish, but I’ll see what it looks like and then make a final decision. I also decided that I wanted strap buttons and initially thought I’d just buy some. Then I thought it might be interesting to try to make my own. The result is shown above. I used three plug cutters (1/2”, 3/8”, and 1/4”) to cut disks out of 1/8” maple. Before using the plug cutters, I drilled a centering hole. I then glued a sandwich out of the three disks, using a toothpick in the centering hole to keep the disks lined up. After drilling out the toothpick, I countersunk the large end with a 3/8” drill bit. Finally, the upper and lower disks were beveled with sandpaper. From the close-up views above, it looks as though I need to do a little more sanding.
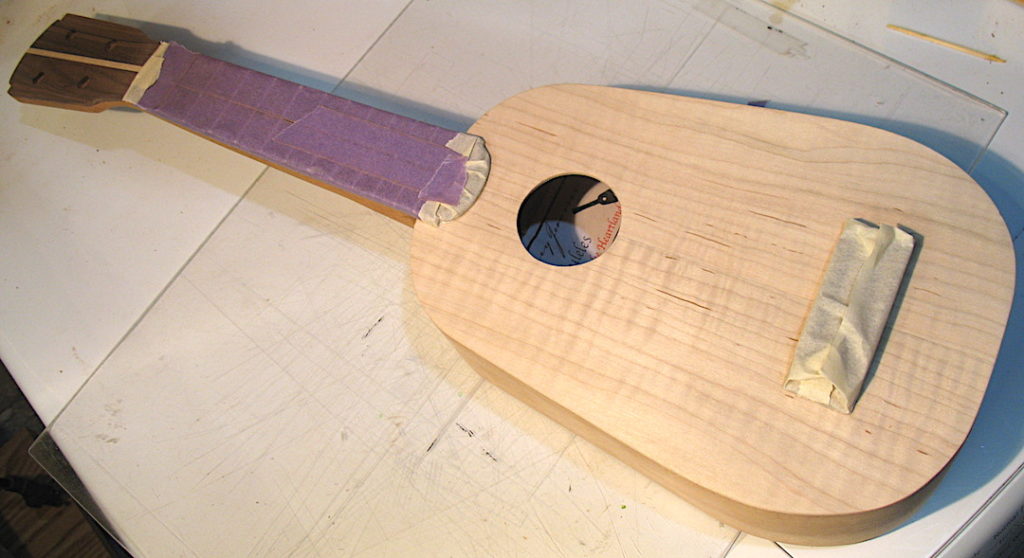
8 Apr 2018: I spent a while fine-tuning the rosewood saddle and nut and then cut the nut slots. Then I decided to cheat. I couldn’t wait to apply the urethane finish coats before seeing if it would play. I put the tuners on and strung it with D’Addario strings just long enough for the strings to settle in and to strum and pick a few bars. It will play! The last act for the day was to mask off the bridge and fretboard in preparation of applying the finish.
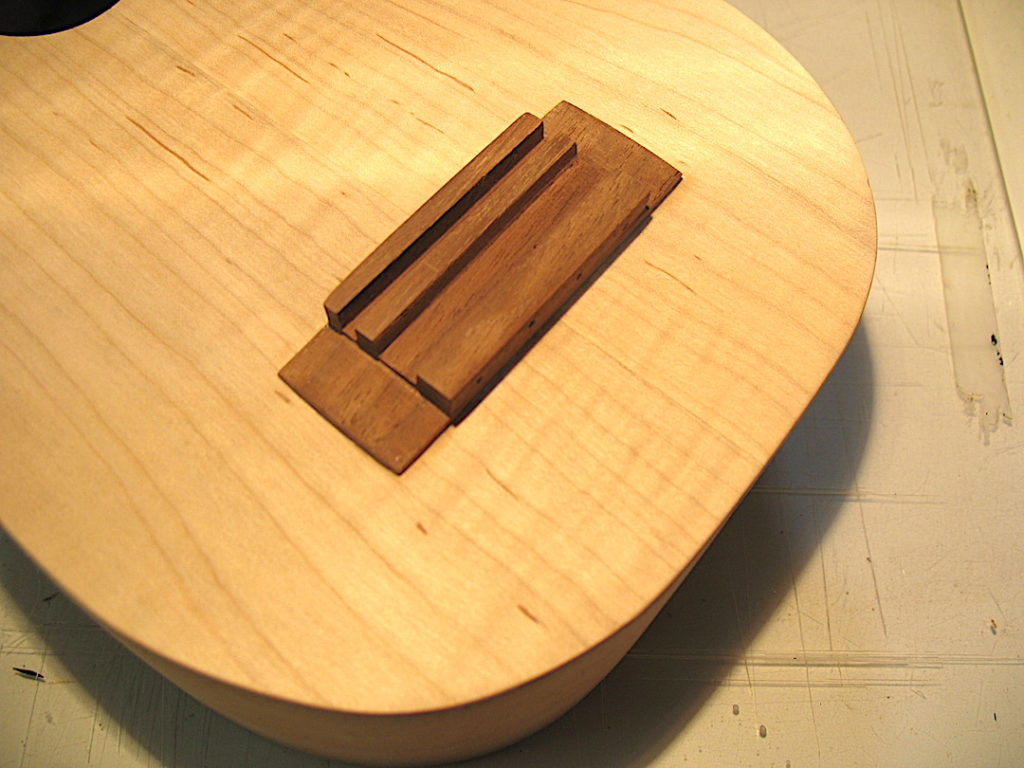
7 Apr 2018: Big day that didn’t go quite as well as hoped. I glued the bridge down but was hampered by C-clamps that needed to be about a half-inch deeper. The clamps only reached to the front of the bridge, which meant that little pressure was being applied to the back of the bridge. I used another clamp to apply pressure to the back of the bridge. However, when I took the clamps off, it was clear that not enough pressure was applied to the back side, and it lifted slightly. I was tempted to take it off, but my wife convinced me to leave it as is. As she said, play it until it pops off and then re-glue it.
1 Apr 2018: Fret markers (maple) at the fifth, seventh, and tenth (double dot) frets. Side markers (toothpicks) at the third, fifth, seventh, and tenth frets. Much sanding still needed on sides of fretboard and neck.
1 Apr 2018: Gluing the fretboard to the neck.
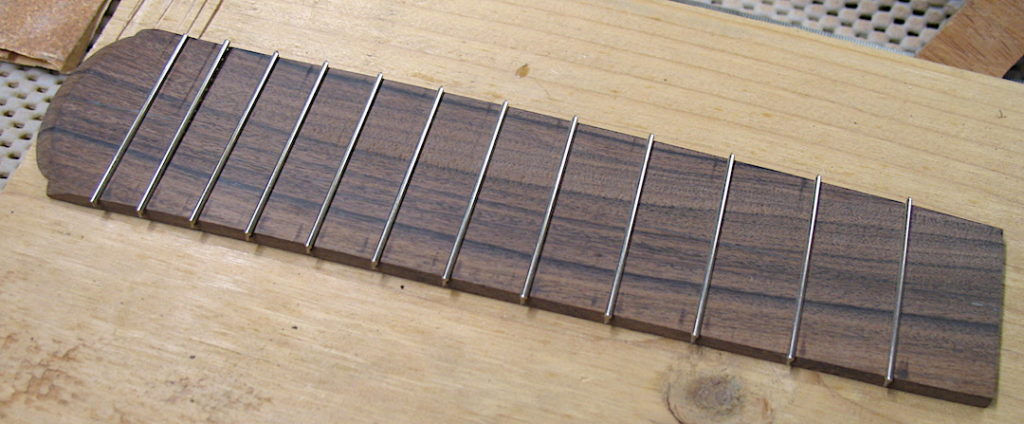
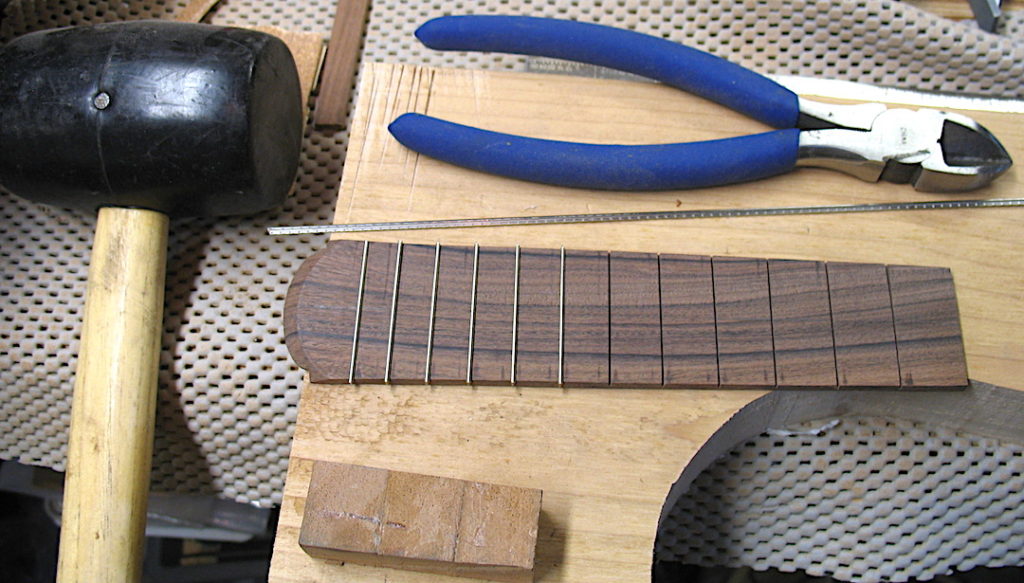
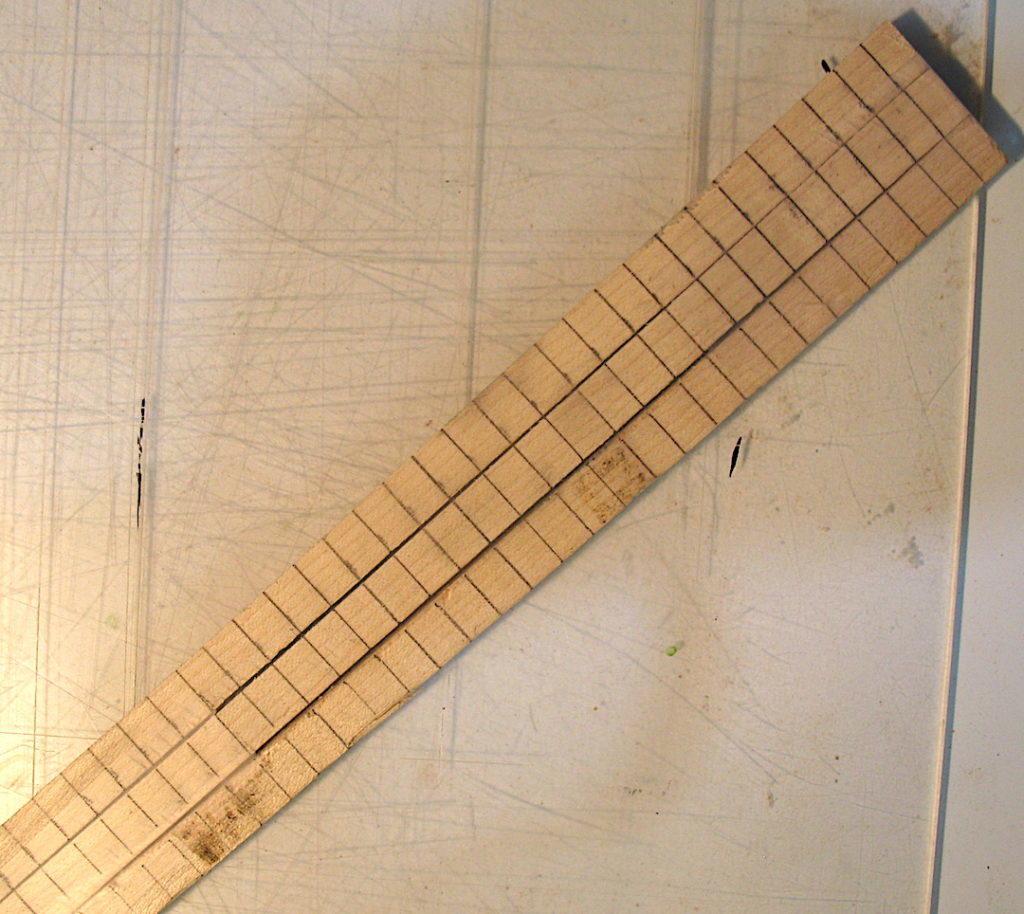
1 Apr 2018: Frets hammered in place. The top photo shows the completed fretboard, with the ends of the frets dressed.
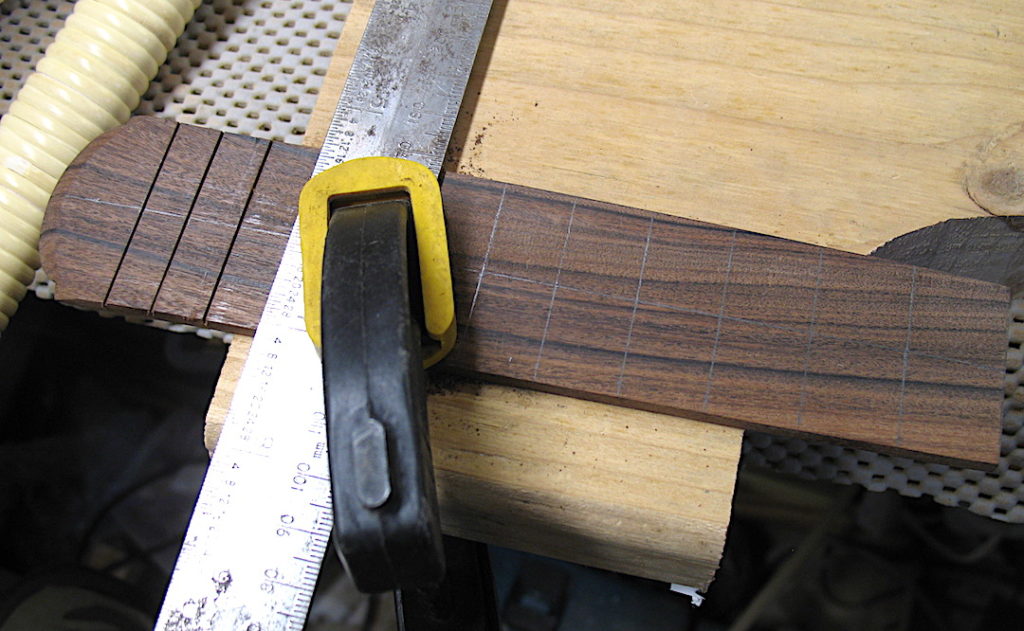
1 Apr 2018: Frets laid out and starting to cut slots.
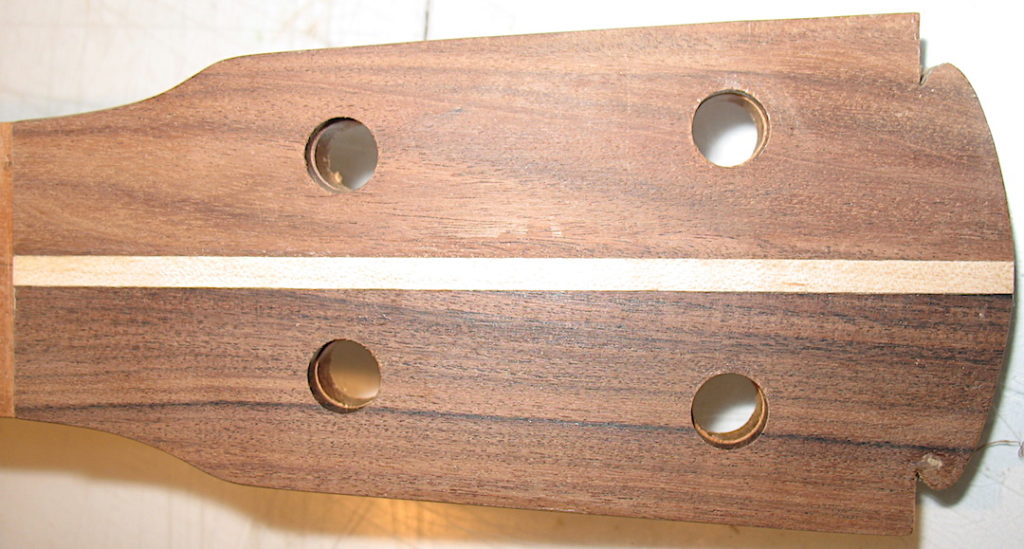
31 Mar 2018: Overlay glued on to headstock and drilled for Grover tuners. Body and neck were sanded using 100 to 400 grit sandpaper, but more sanding is required. Prior to this and not shown, gluing the neck to the body, which proved to be a significant challenge. Ensuring the neck and body were on the same plane and that the neck was aligned took a lot of fine-tuning. In the end, the joint at the body was not as seamless as I’d hoped.
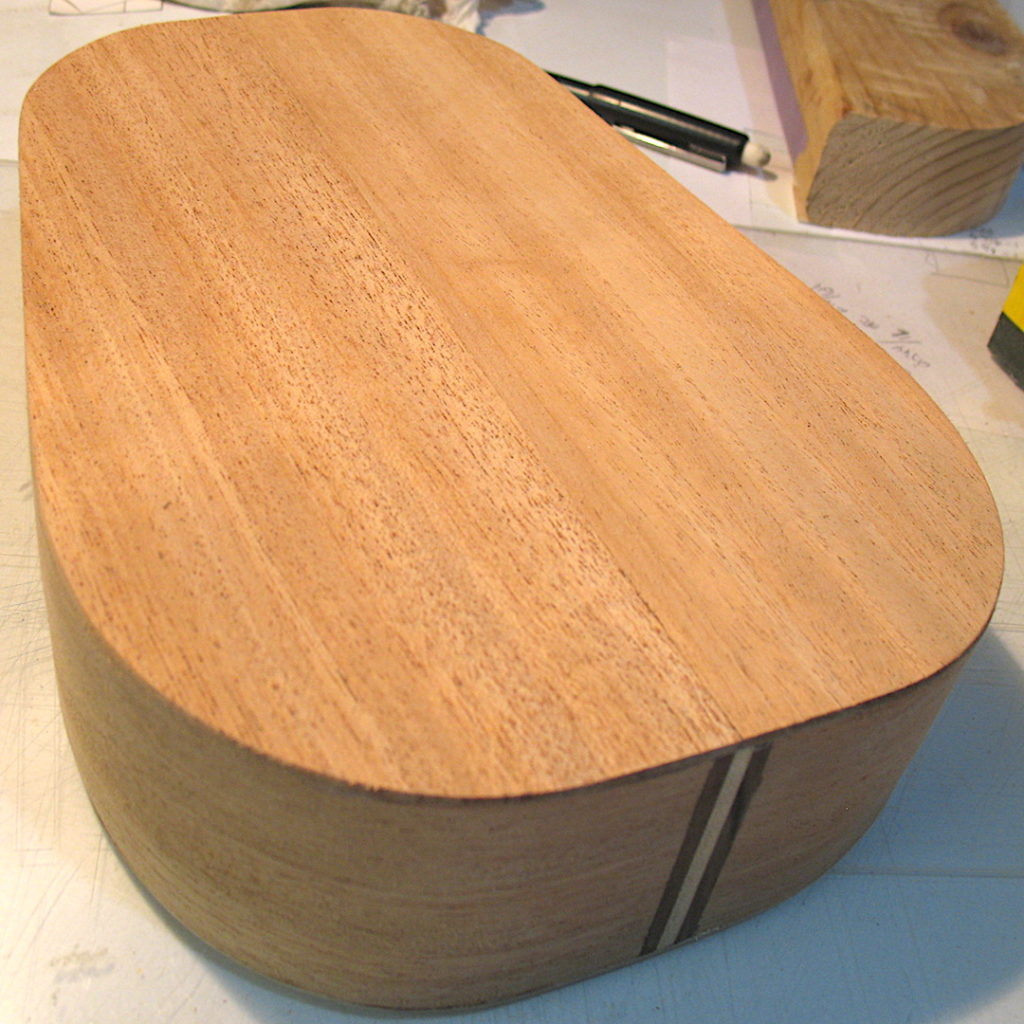
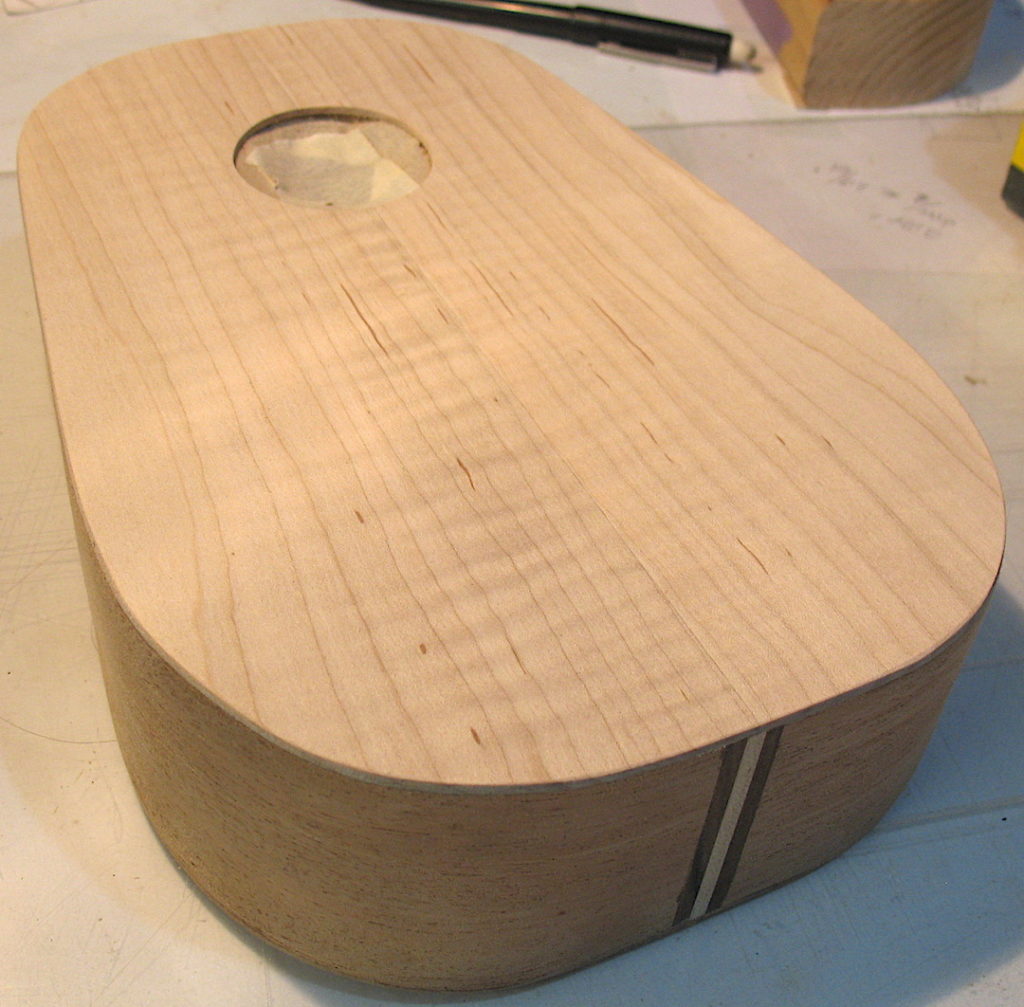
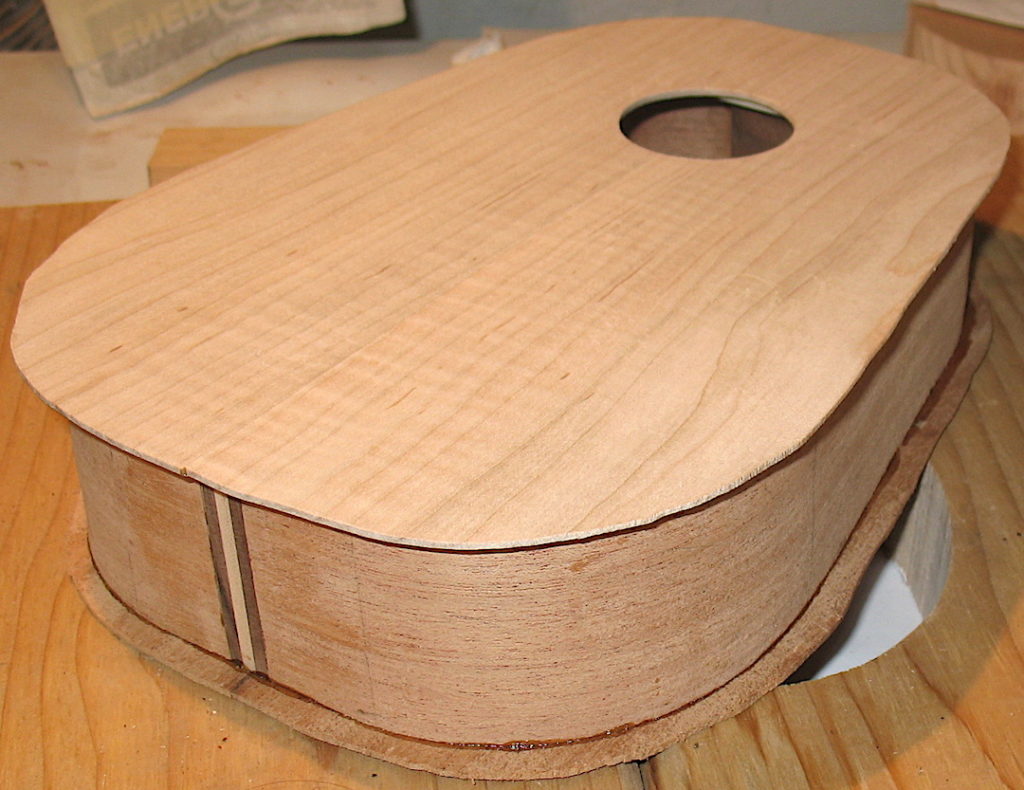
28 Mar 2018: Top and bottom glued on and excess rim sanded down to the body sides.
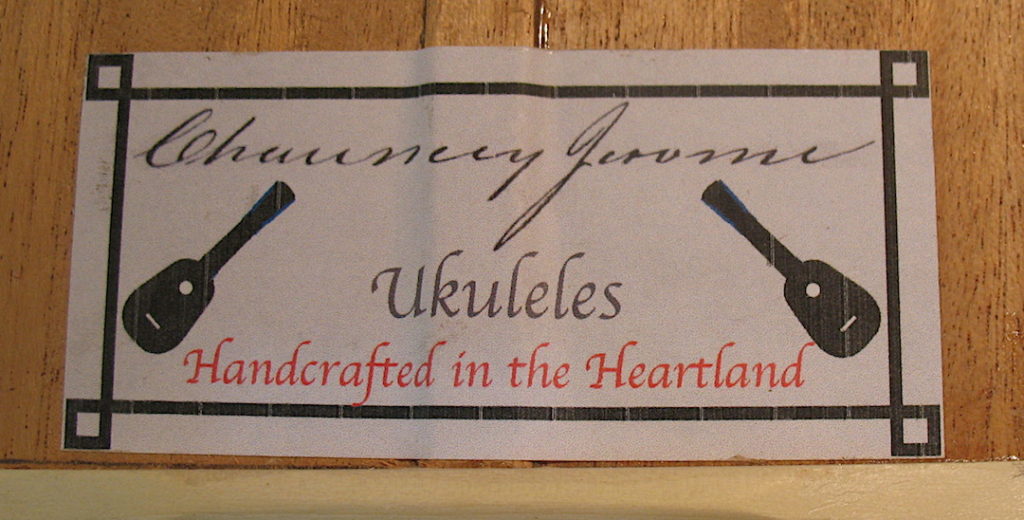
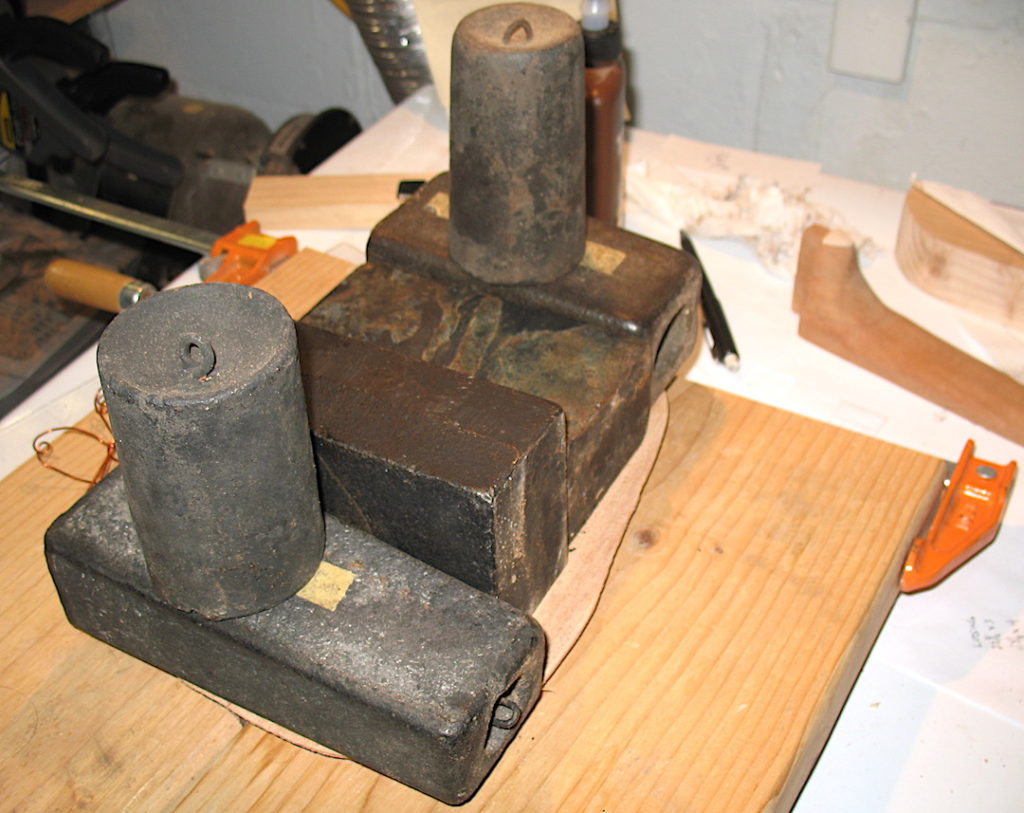
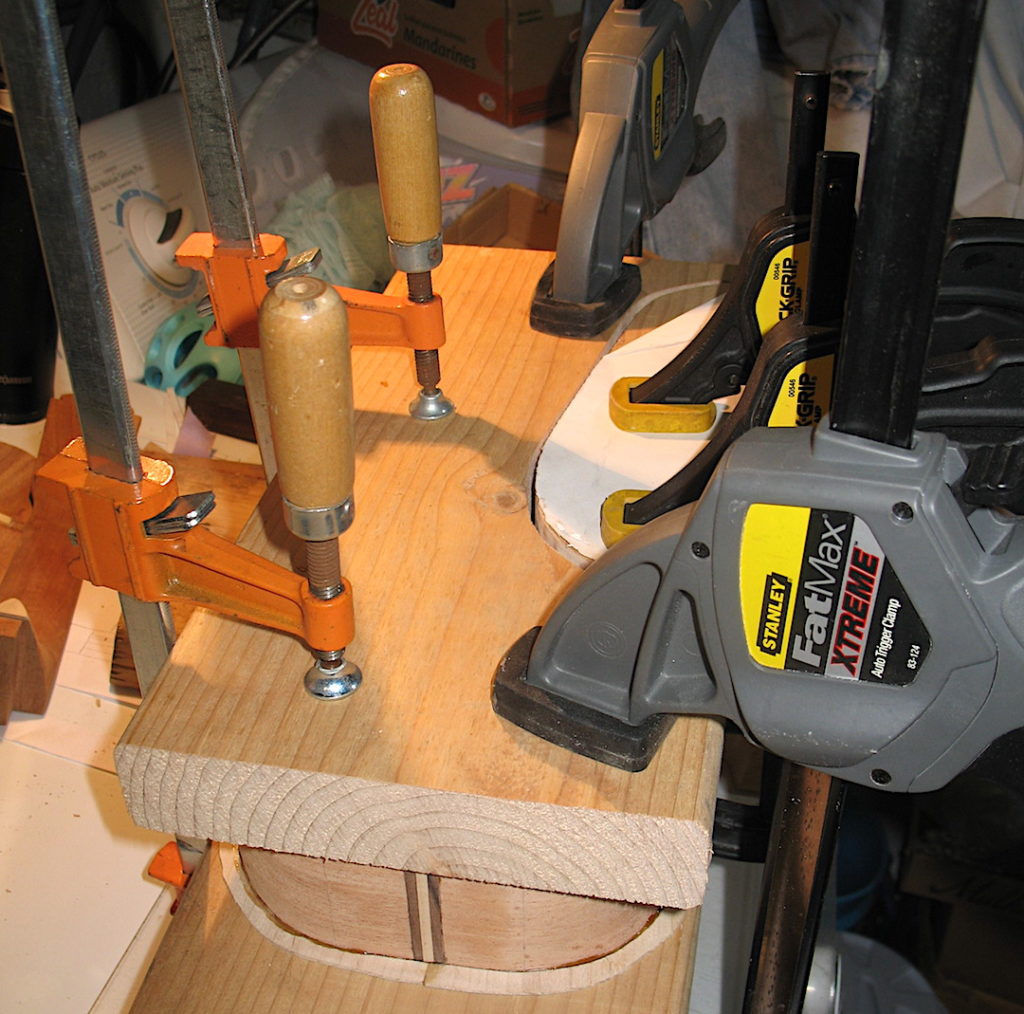
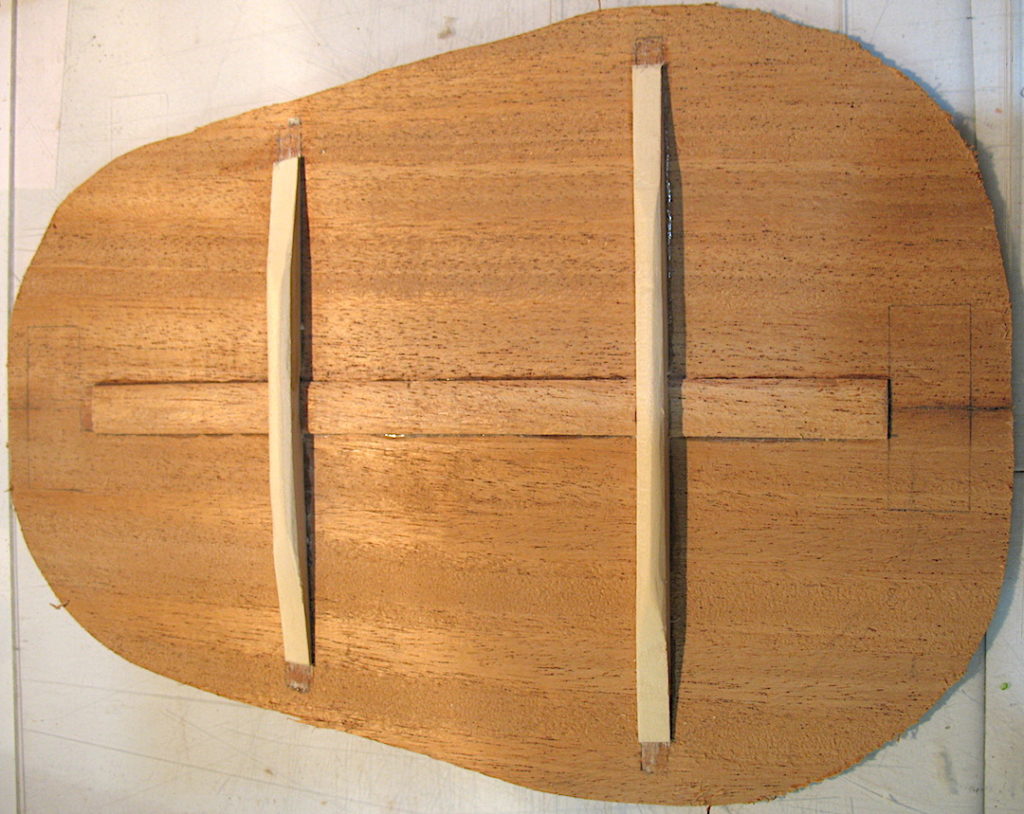
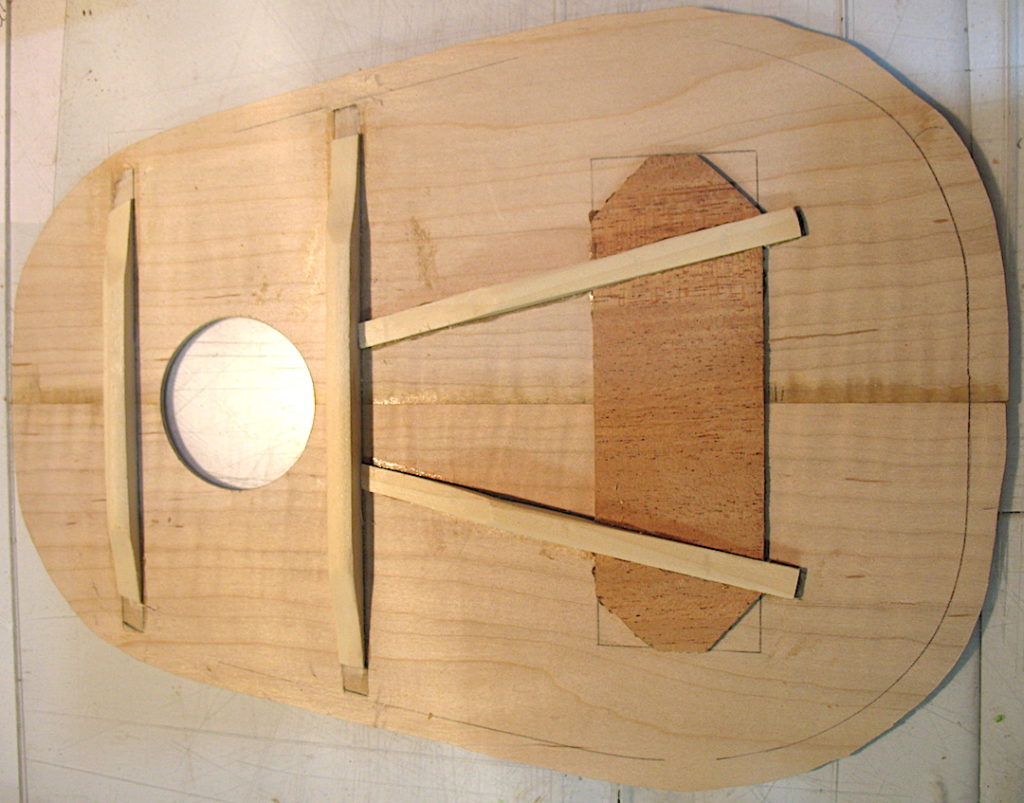
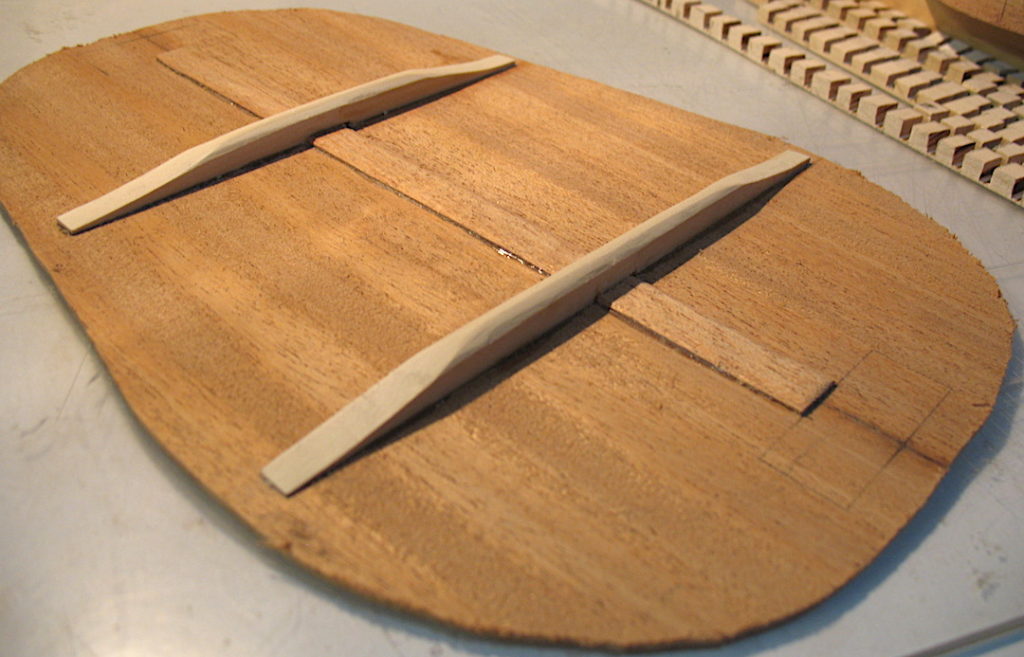
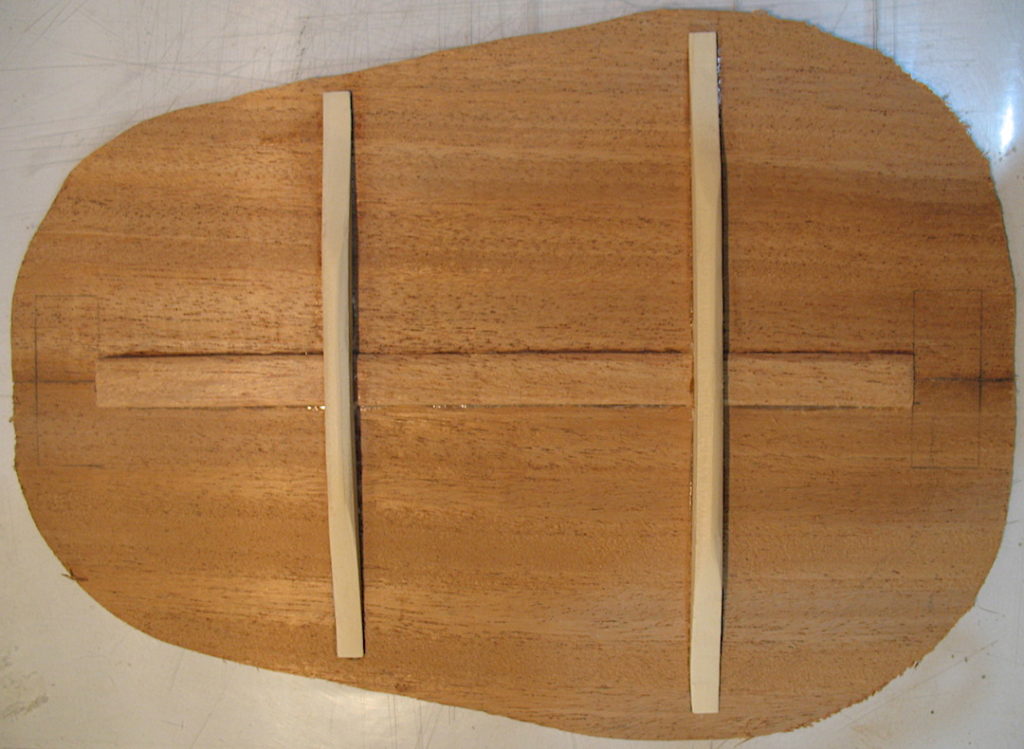
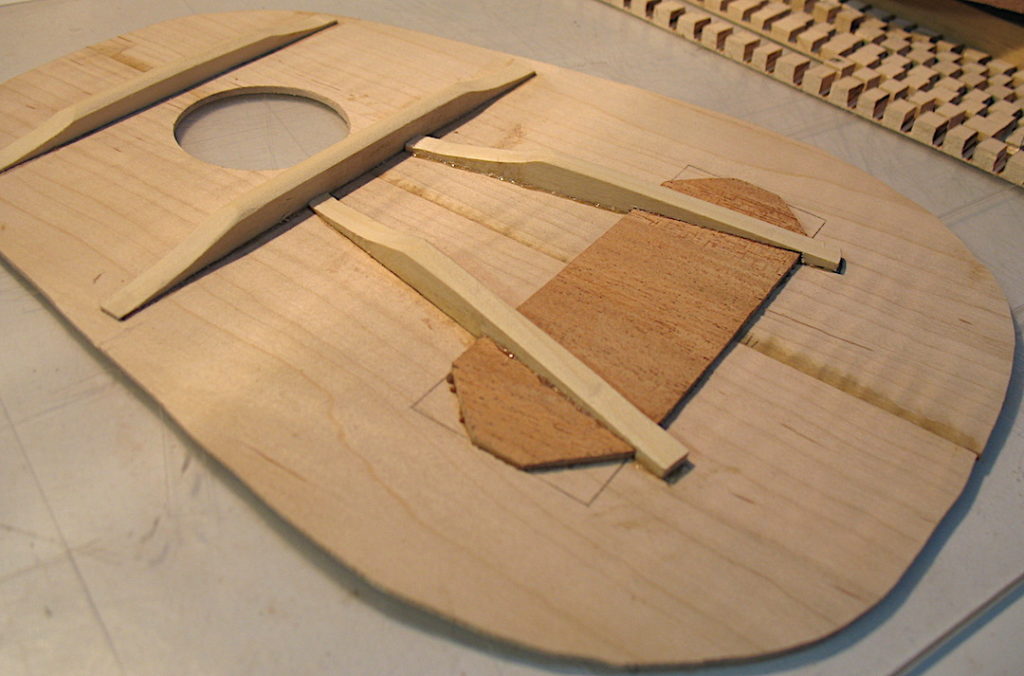
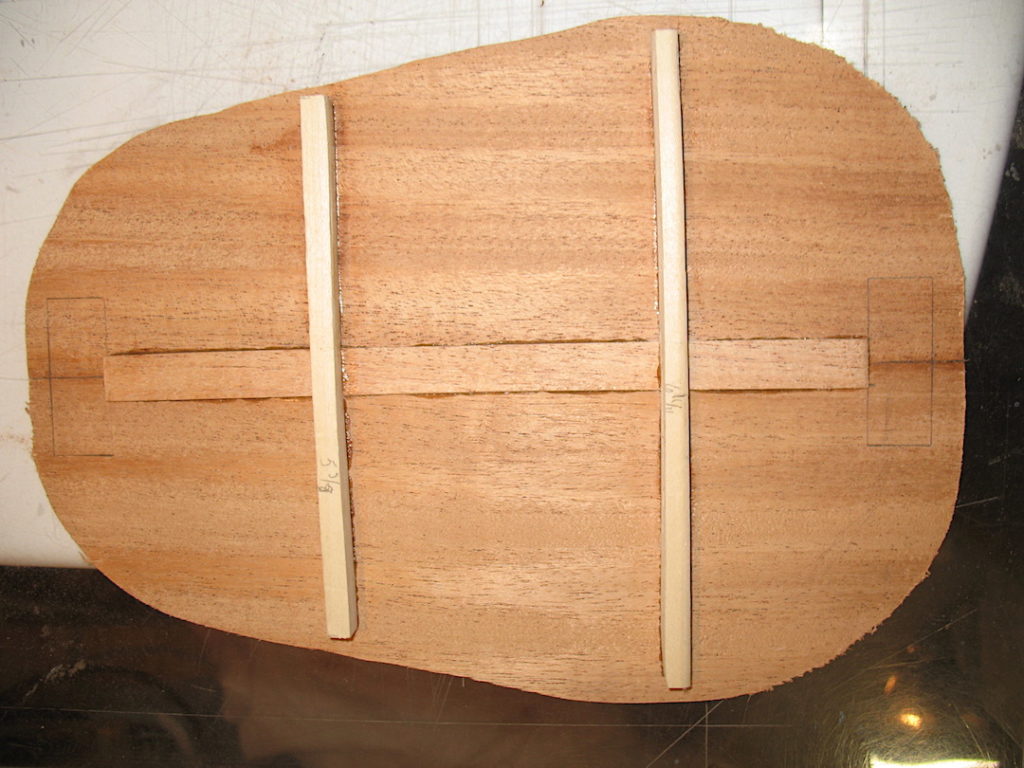
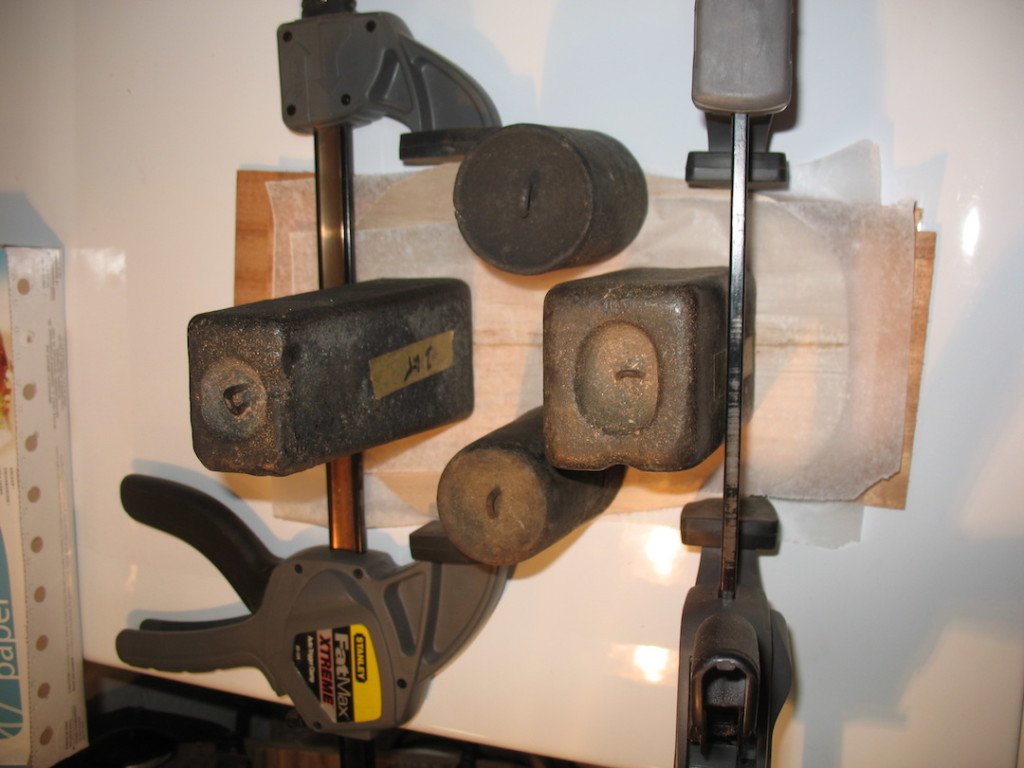
25 Mar 2018: The bottom two pictures show the top and bottom boards with the ends of the braces shortened to fit inside the kerfing. The third picture above shows the top being glued to the sides, and the one above that shows the back being glued on. For a variety of reasons, I chose to apply weight to the pieces being glued using different methods. For gluing the back, I used clock weights (probably a total of 40 lbs). The top photo shows the label, which honors the 19th century clock maker, Chauncey Jerome.
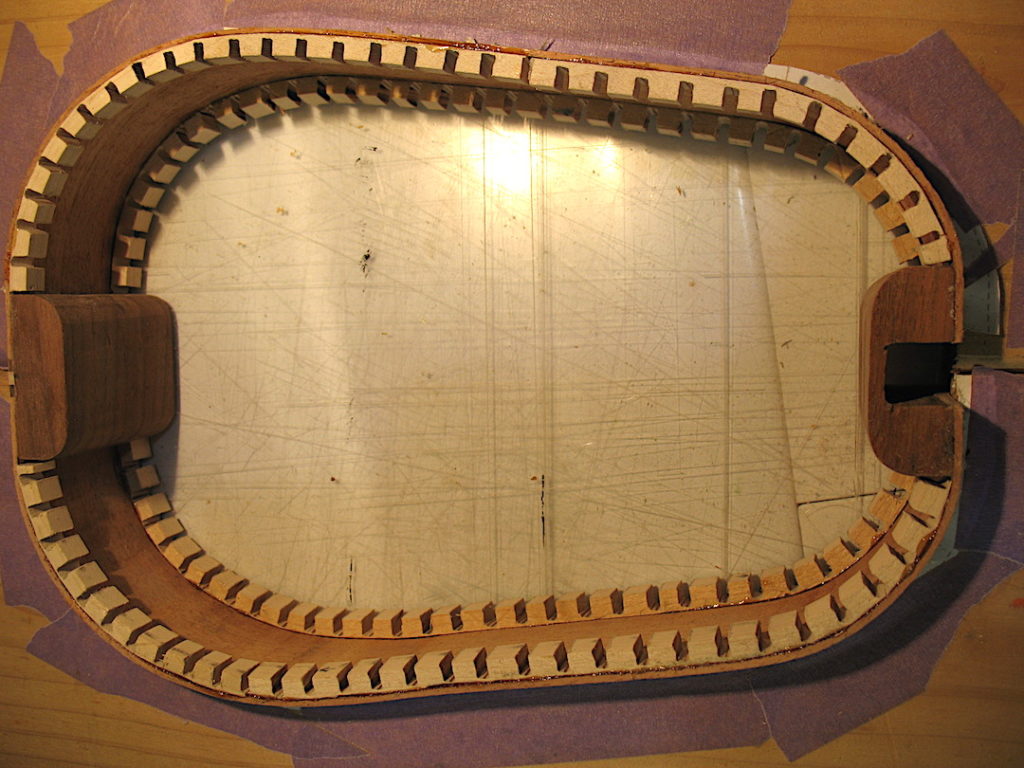
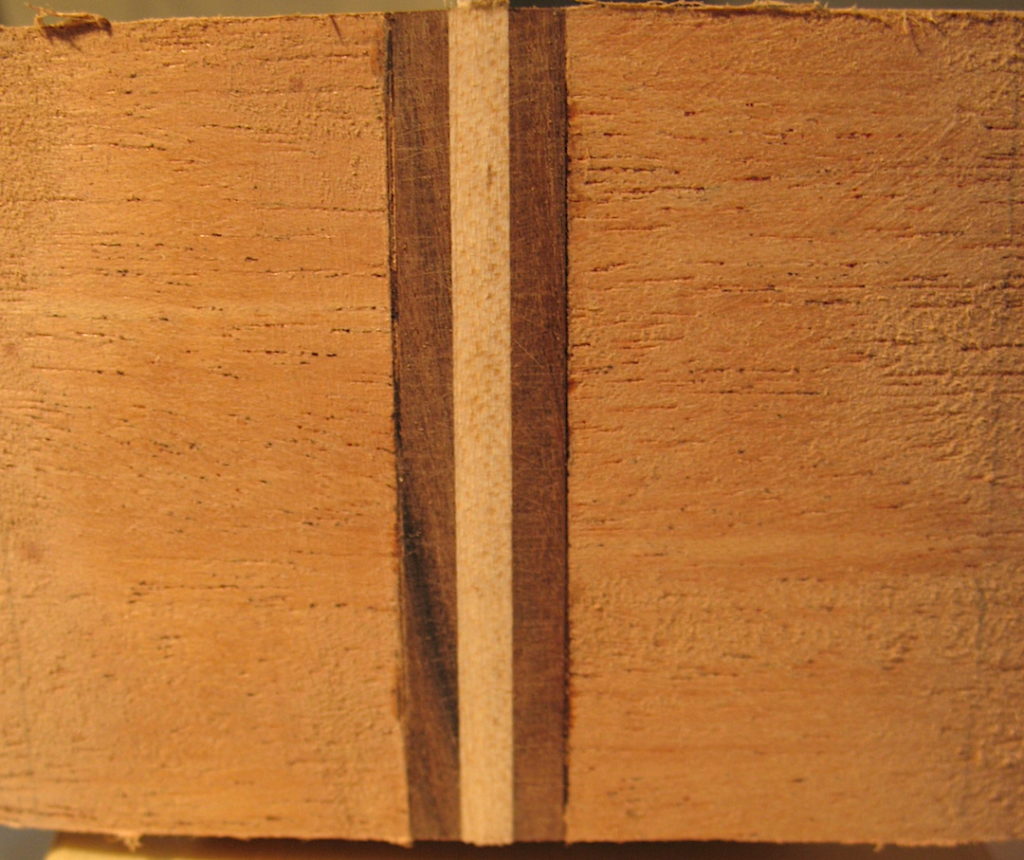
24 Mar 2018: In order from bottom to top photos showing: Rosewood and maple inlay at the join where the sides meet at the tail of the body; gluing the notched kerfing to the side of the ukulele; notched kerfing glued in place.
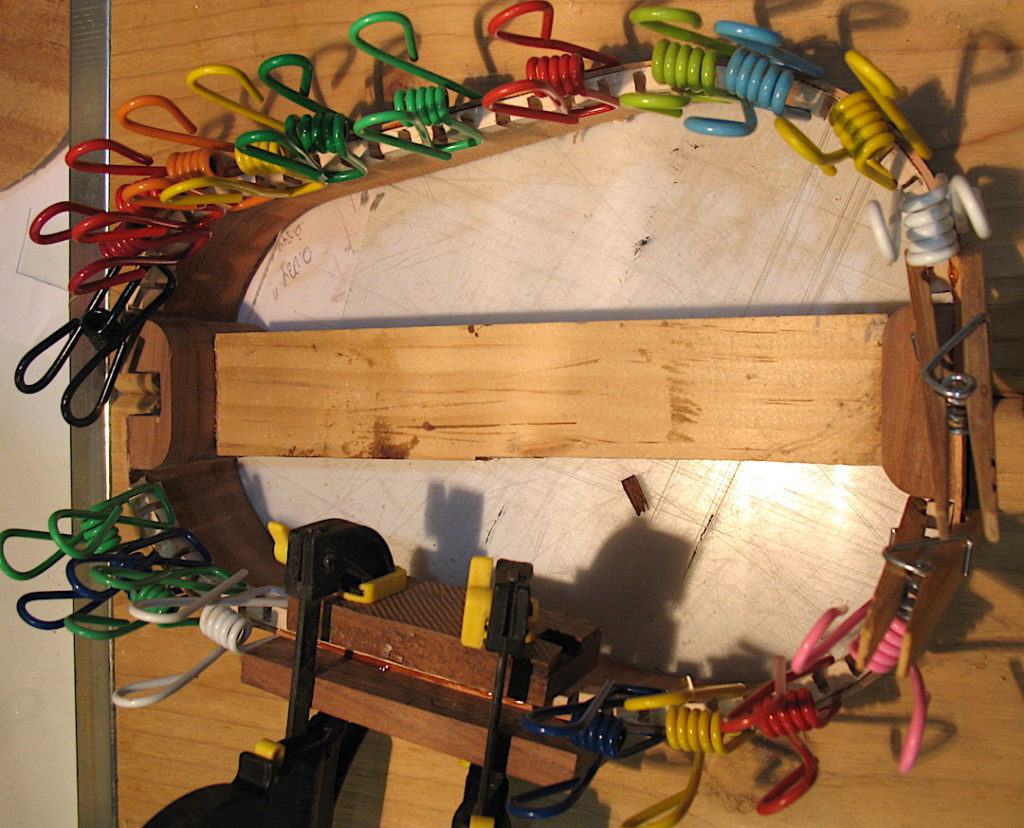
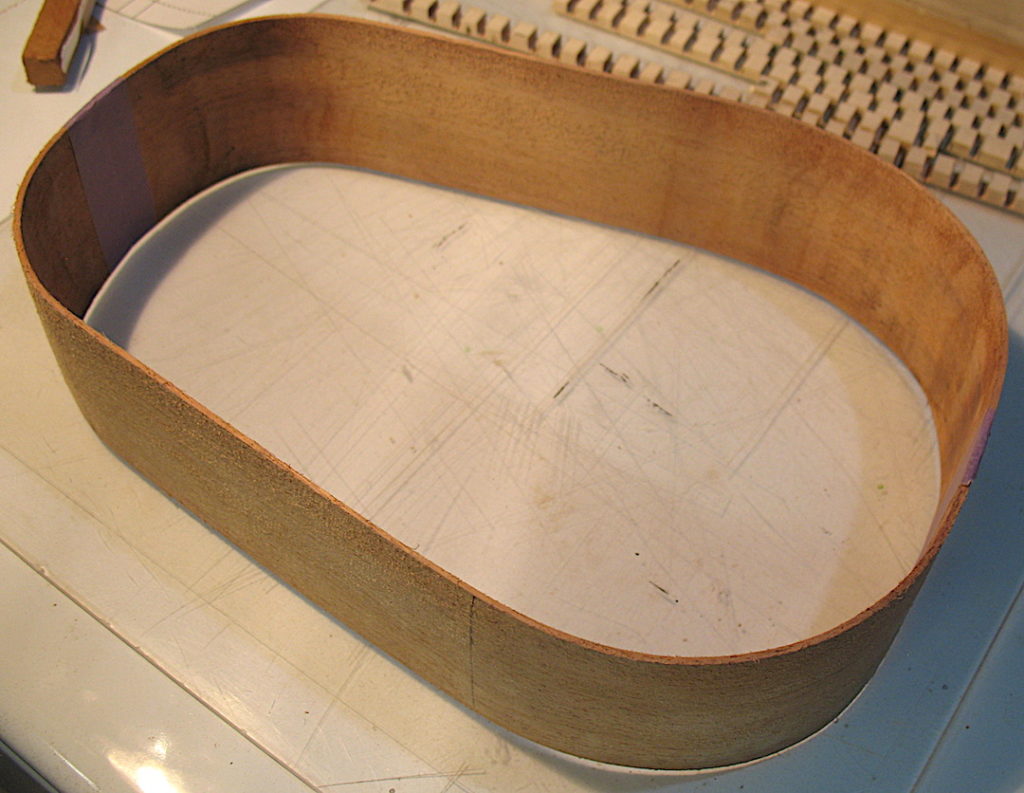
19 Mar 2018: Sides taken out of the form and ends taped together.
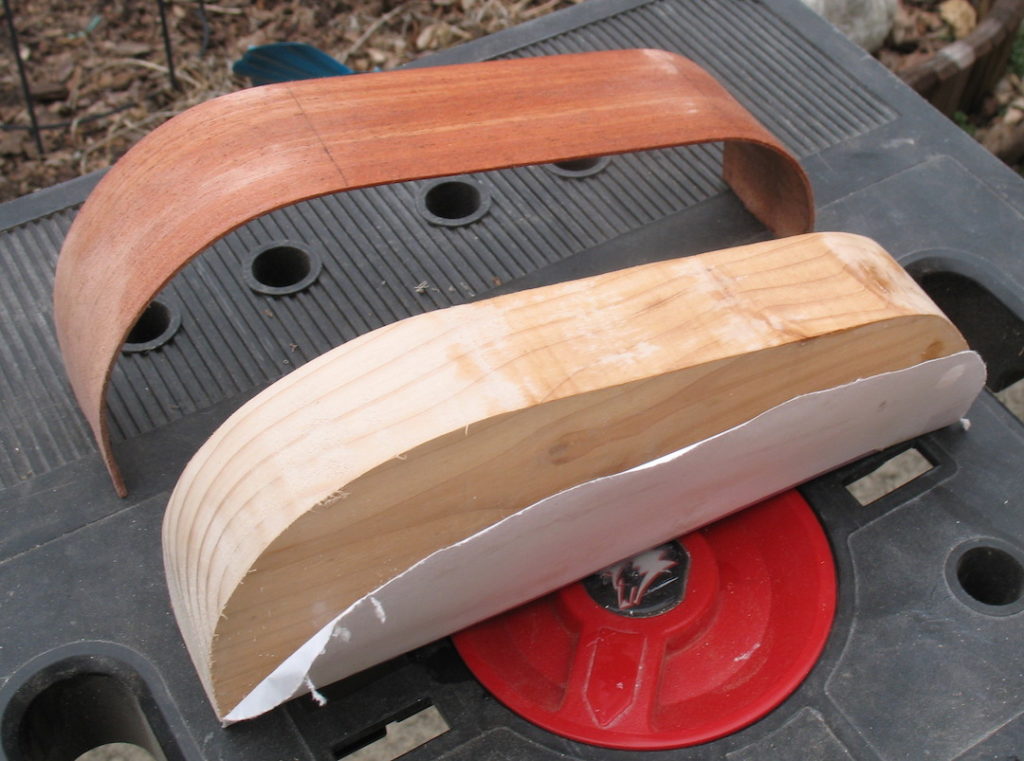
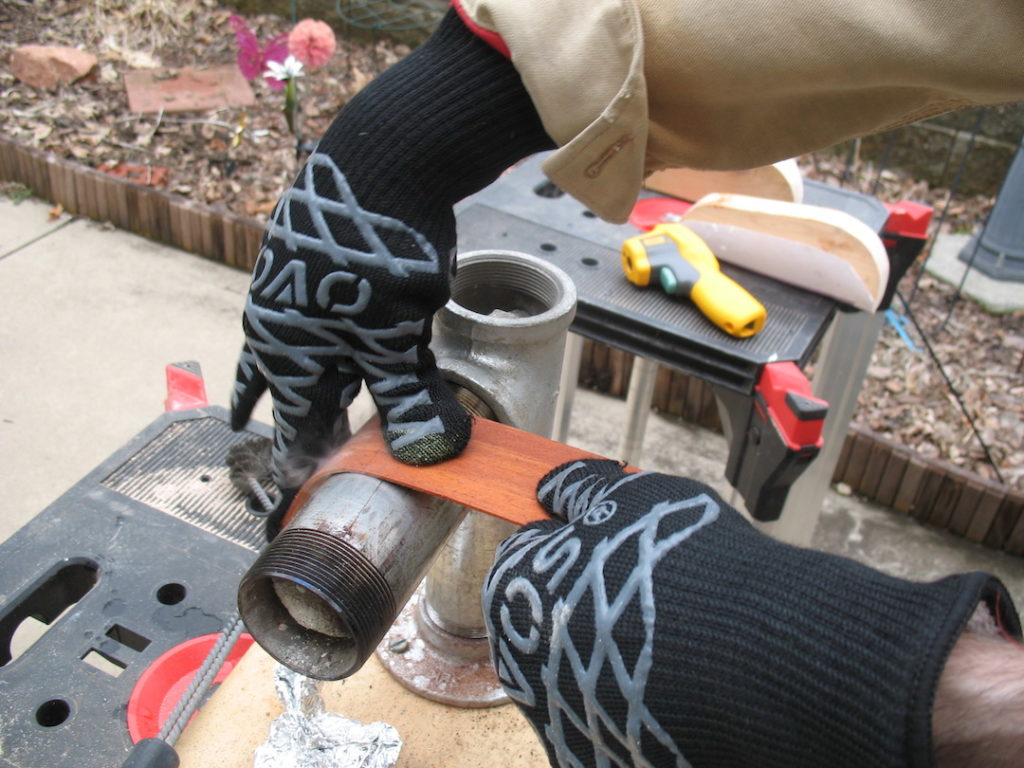
18 Mar 2018: I reconfigured my heat bender so that it had a chimney to allow better air flow. I’m not sure it made much difference, because I was able to achieve around 300 degrees F in both configurations. My heat source was charcoal. My wife used a bellows to keep the coals hot. Bending the wood, which soaked in water for a few hours before I started bending it, proved amazingly easy. Once bent, the sides retained their shape, but I put them in a form just to be sure.
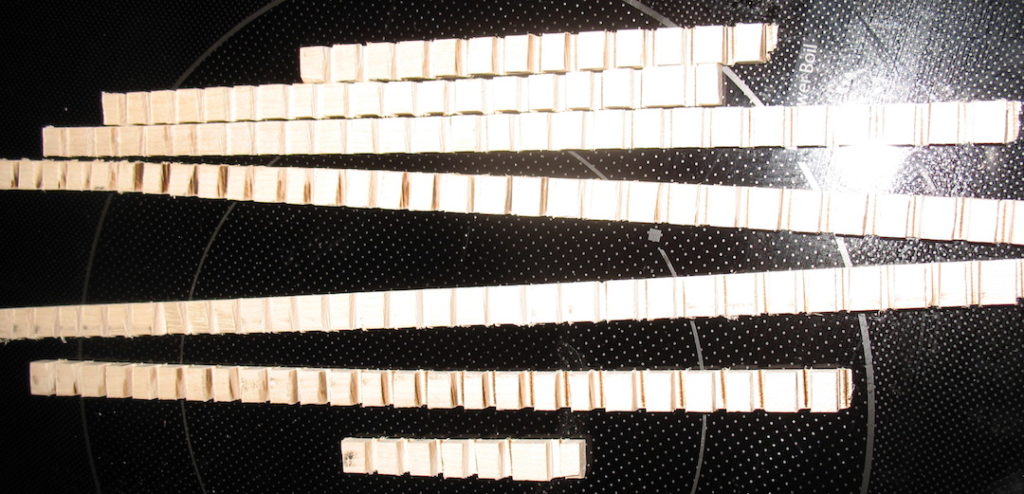
18 Mar 2018: Cutting the notches for the kerfing proved challenging. The depth had to be just right, and I ended cutting too deeply a few times. I started with three 22” strips, only one of which survived intact.
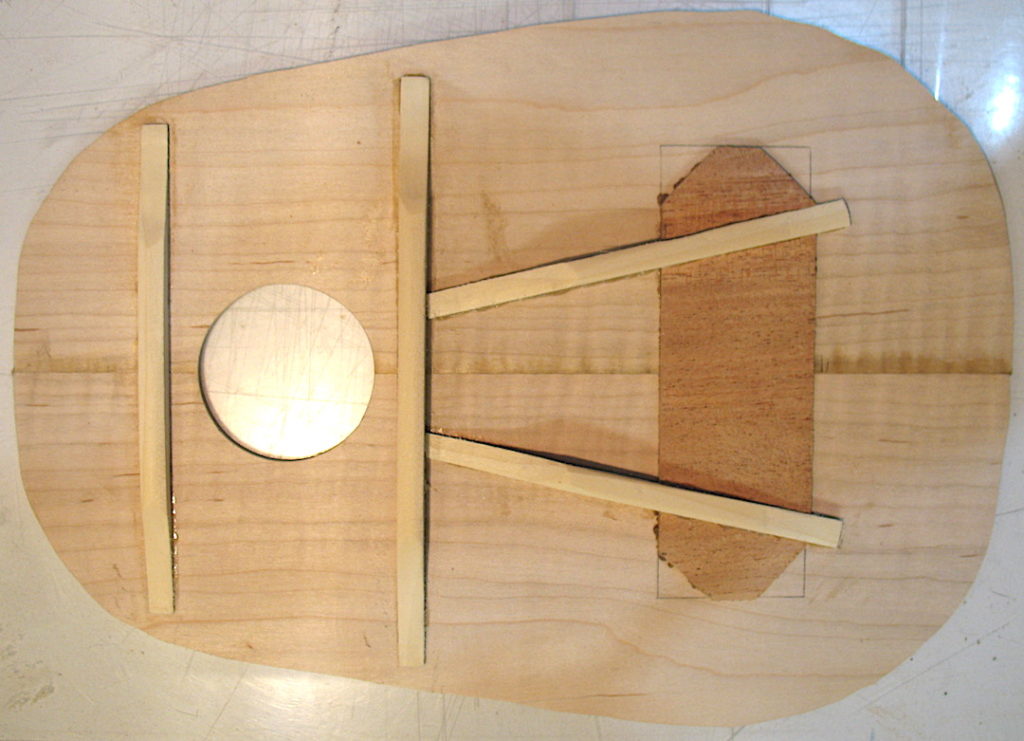
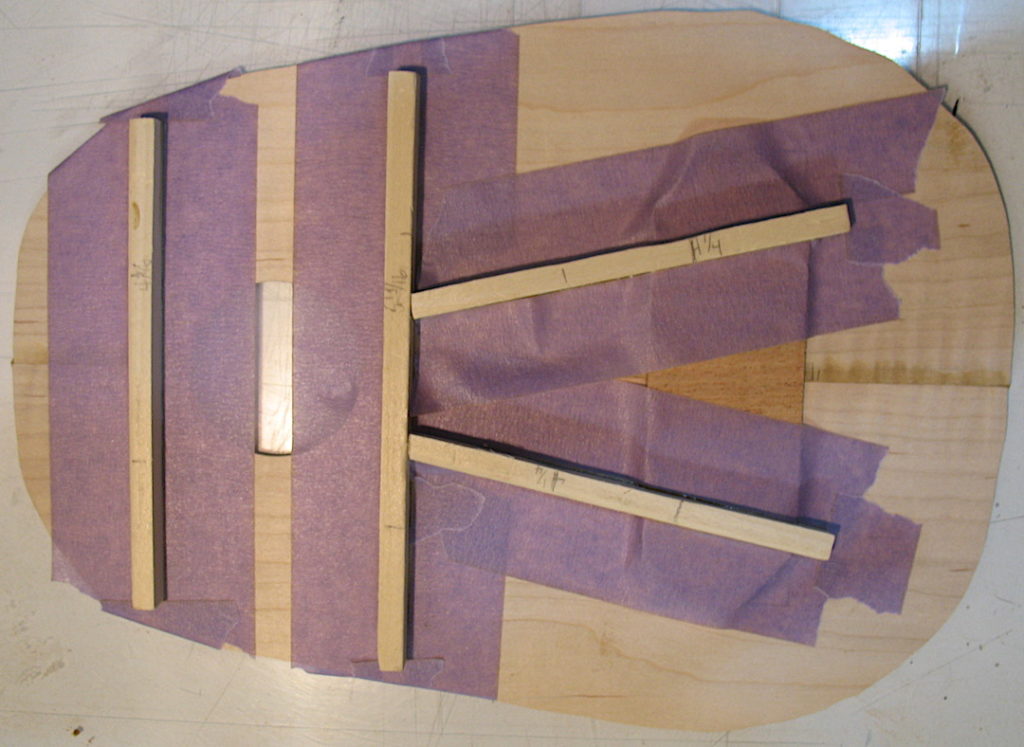
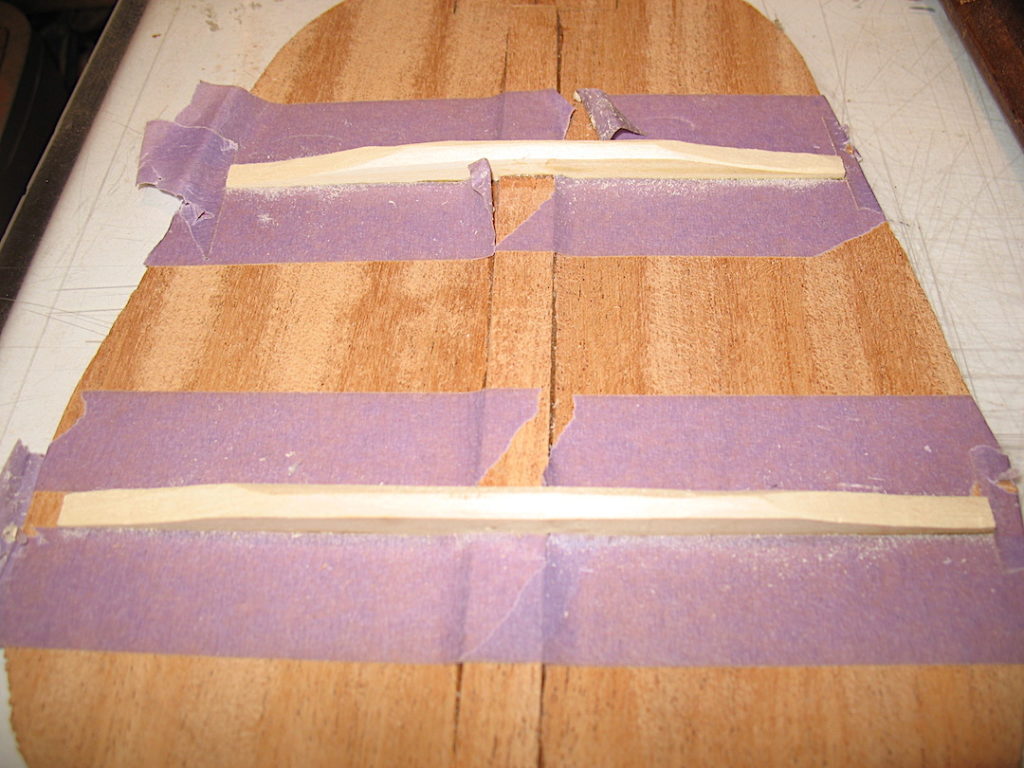
18 Mar 2018: I shaped the braces for the top board. Shown are the finished braces for both the top and bottom boards.
17 Mar 2018: Worked on two tasks: gluing the braces to the top board and getting three strips of wood ready for notching to make the kerfing. The masking tape is to protect the board while using a chisel to shape the braces. On the kerf strips, the lines are marked at ¼” intervals. Due to the blade thickness of my table saw, I ended up adjusting the spacing to 3/8”.
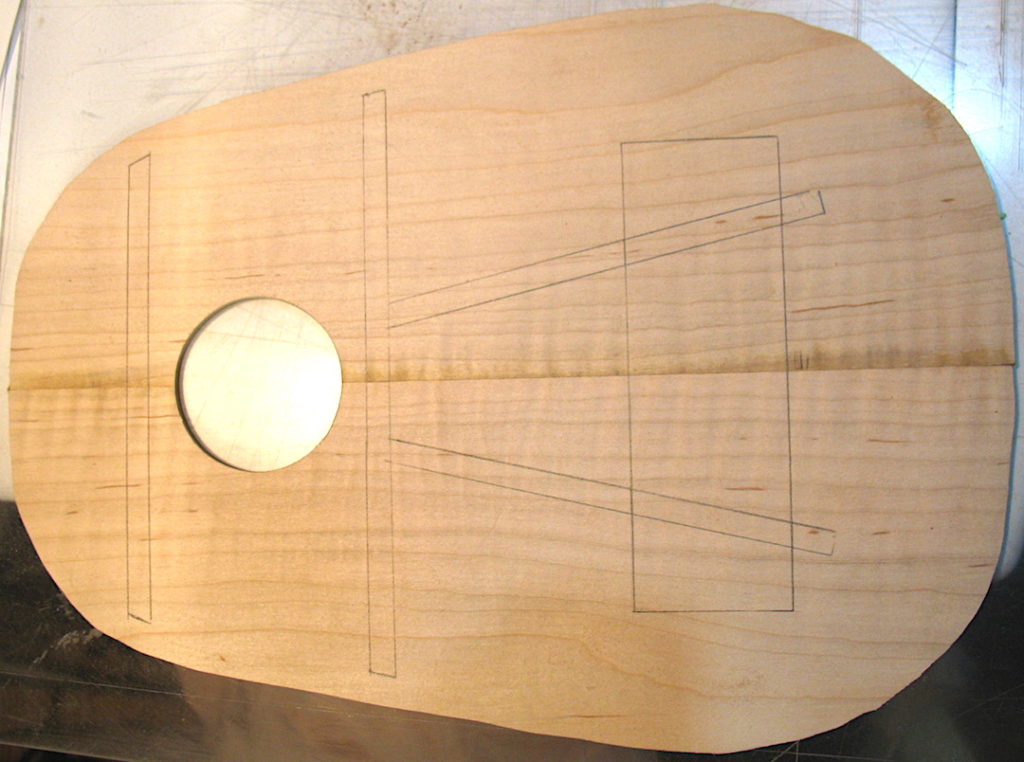
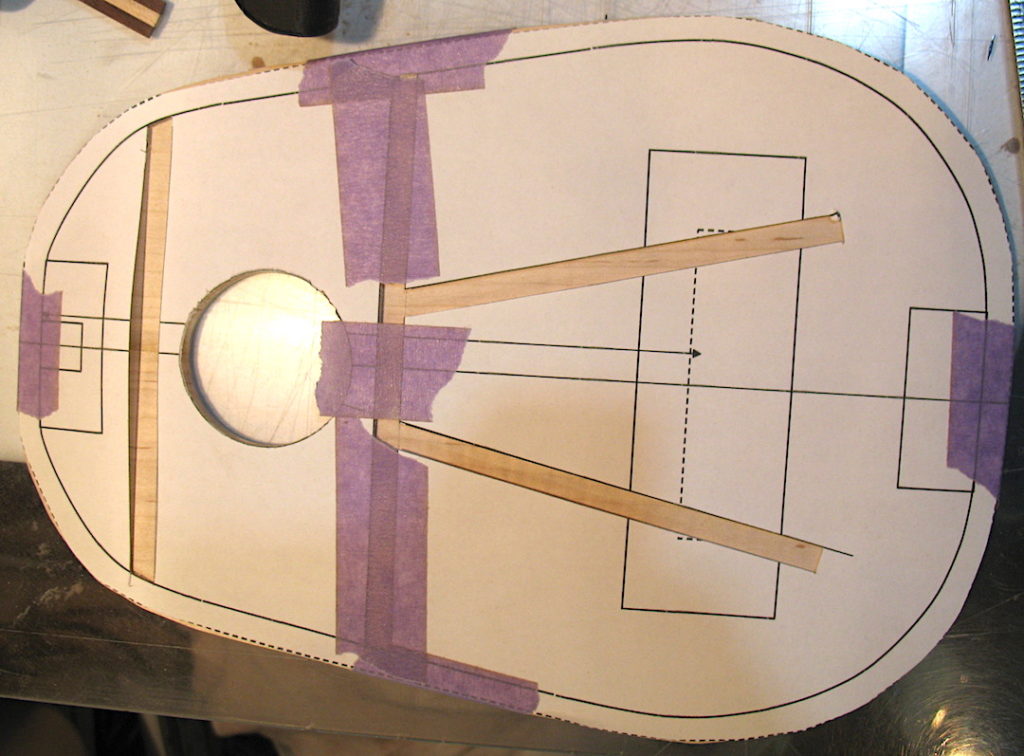
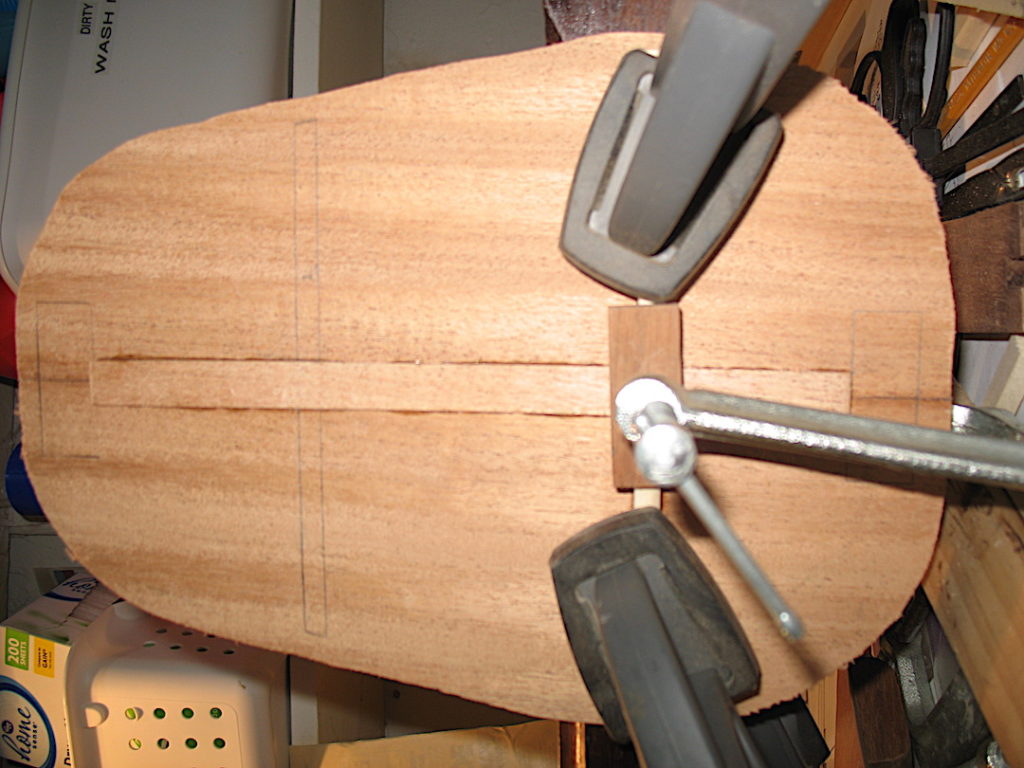
10 Mar 2018: I’ve started working on the bracing for the bottom and top. In order, starting with the photo immediately above: Gluing the first “rung” on the ladder brace (the center supporting strip was glued last week); both rungs attached; braces being shaped; template for laying out the locations for the braces on the top board; and top marked with brace locations.
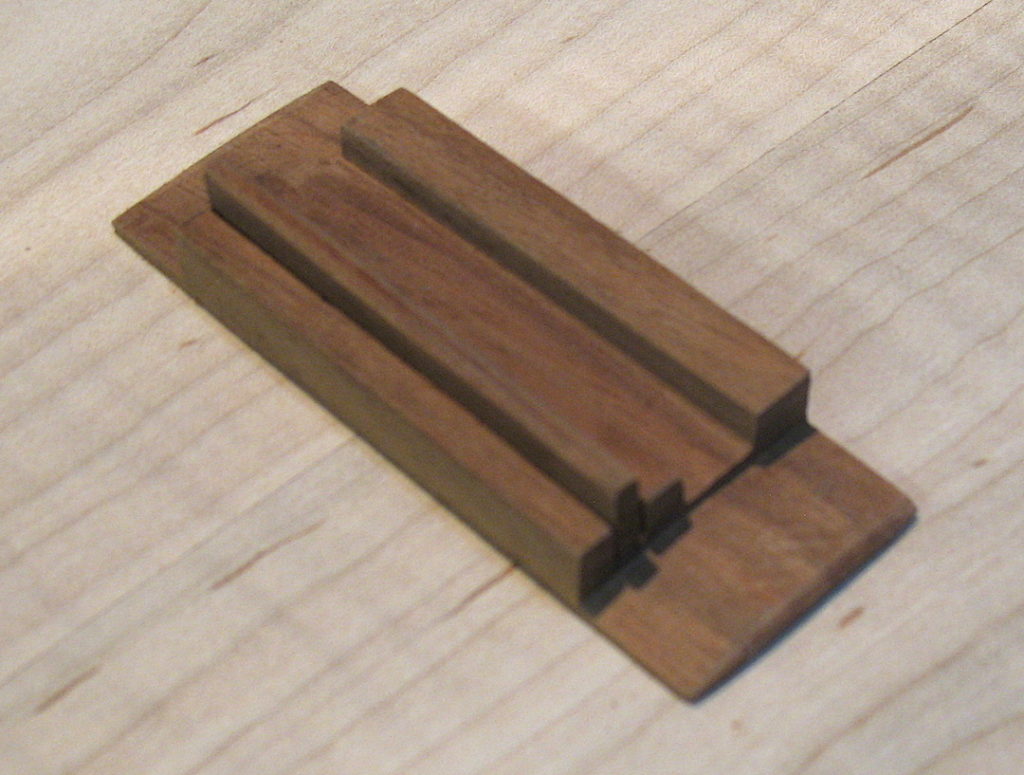
4 Feb 2018: Fashioned a sandwich of two pieces of rosewood and one of maple that will be set in where the mahogany sides join at the butt. The idea was to draw a connection to the rosewood and maple headstock. I also drilled the holes in the bridge for the strings (not shown).
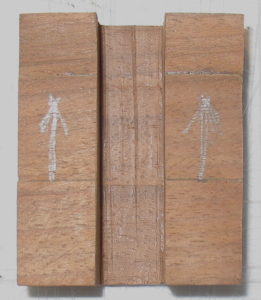
4 Mar 2018: Finally finished the internal blocks for the butt and the neck. They’re made of three stacked and glued pieces of 100+ year old mahogany picture frame. The neck block is slotted to receive the tenon on the neck.
3 Mar 2018: After much sanding, the bottom, top, and sides are now approximately 1/16”, which, not counting finish sanding, will be the final thickness for these boards. Shown immediately above is the bottom board, followed by the top board, and then a sandwich of the top, sides, and bottom.
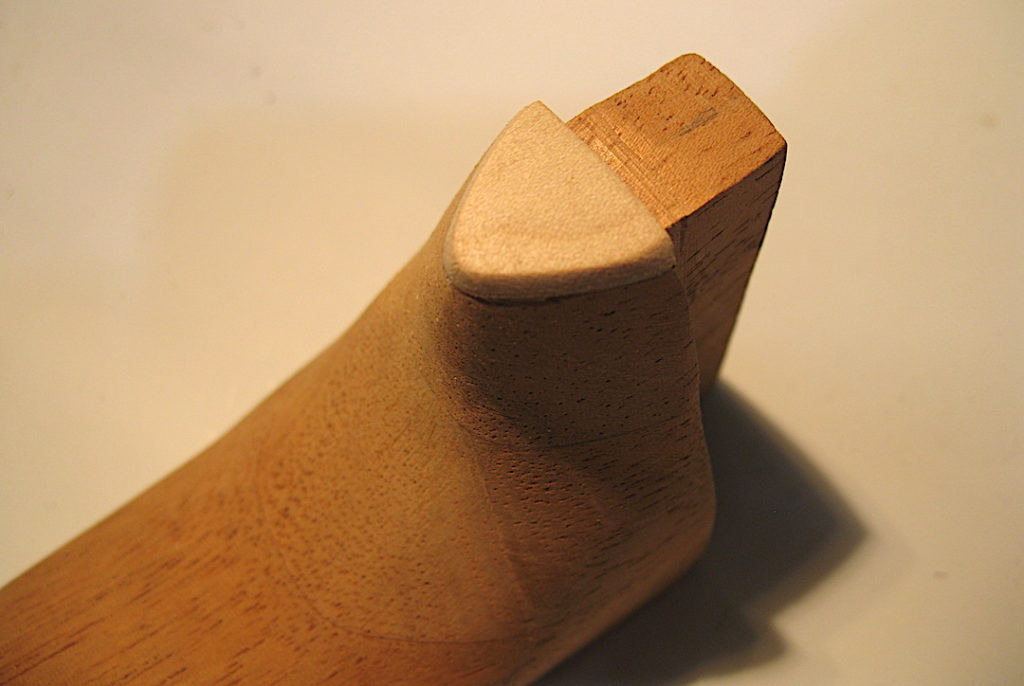
25 Feb 2018: I made a cap for the heel using maple.
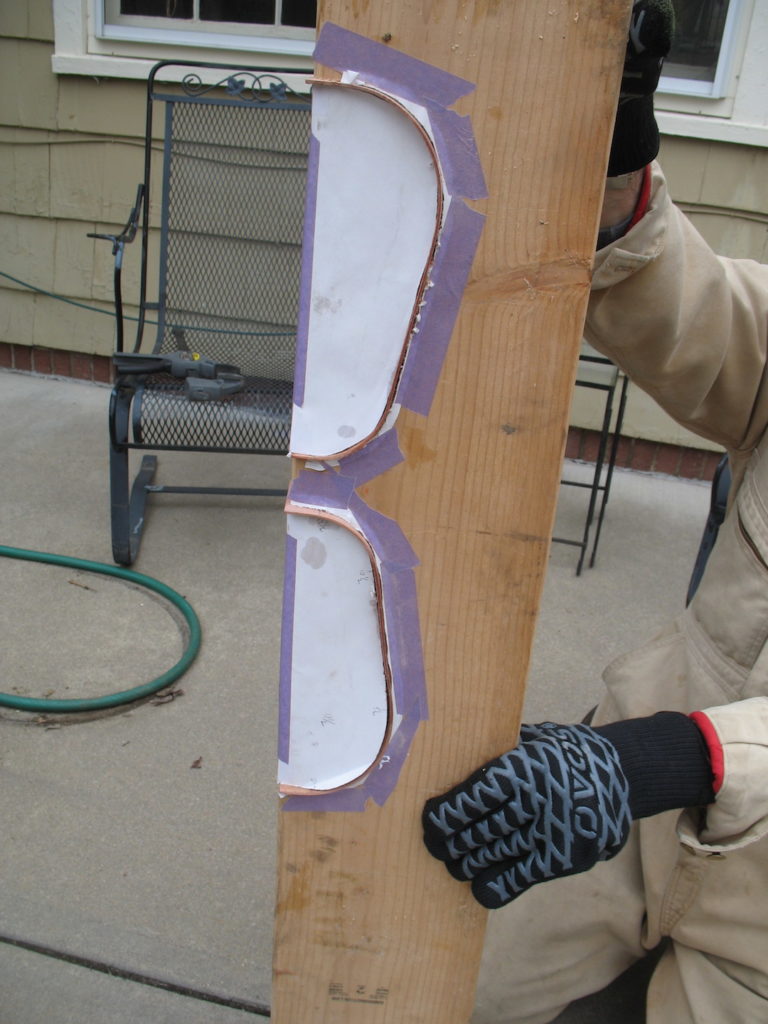
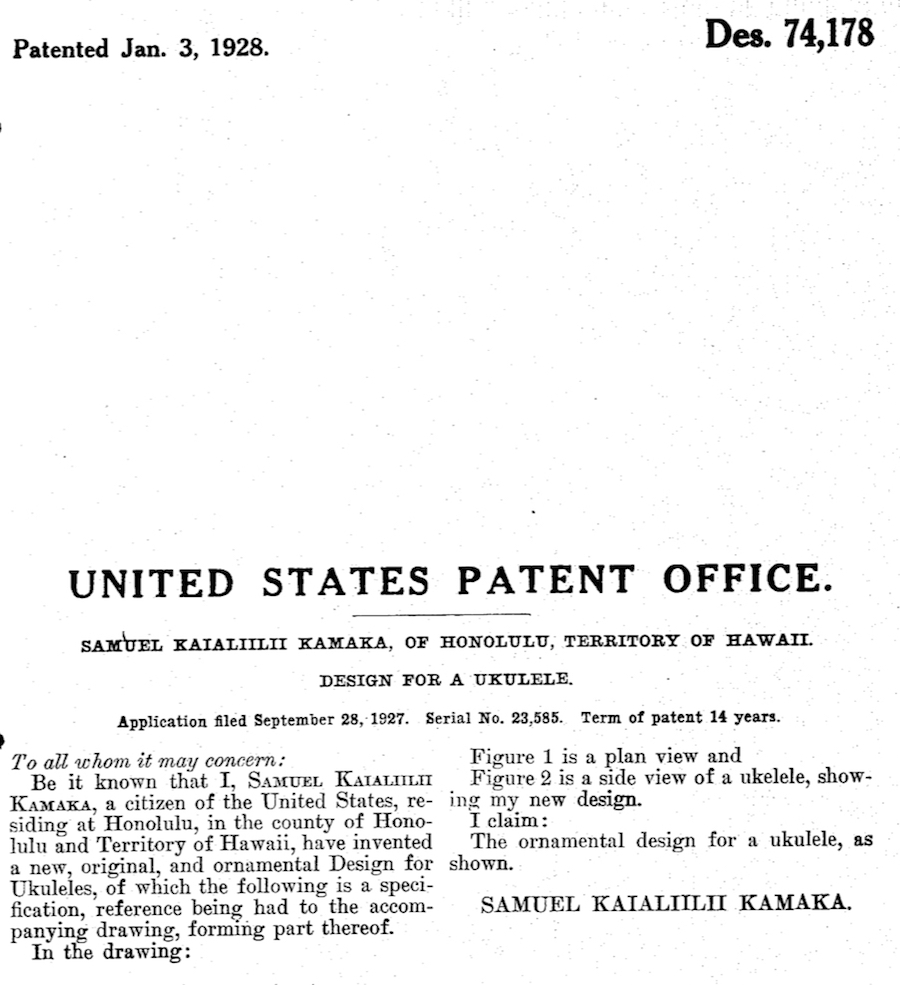
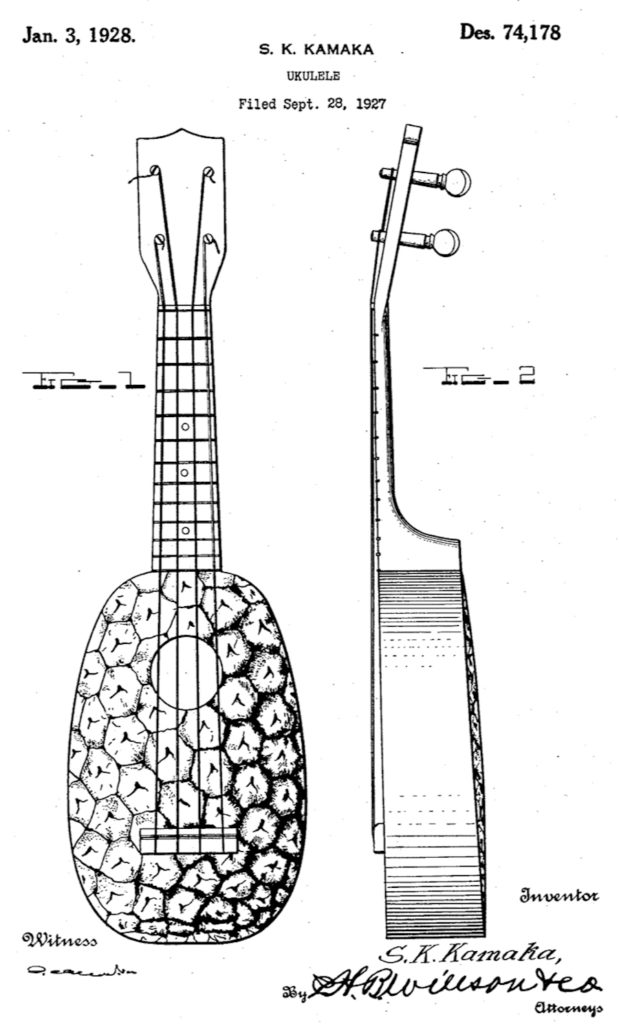
24 Feb 2018: I fashioned the tie-bar bridge out of a piece of mahogany from a 100+ year old picture frame. The saddle is rosewood. I still need to drill holes through the back of the bridge for the strings. Earlier in this post, I mentioned a Gold label Kamaka pineapple ukulele as the inspiration for this uke. Gold labels were used on Kamaka ukuleles from 1954-1969. Sam Kamaka, Sr., the founder of the company, died in 1953. Sam, Jr. returned to Hawaii in 1953 to care for his father and started production back up the following year. The original design for the pineapple ukulele was patented by Sam, Sr. in 1928. The patent drawings and specifications are shown above. Notice how the surface of the ukulele was painted to look like a pineapple.
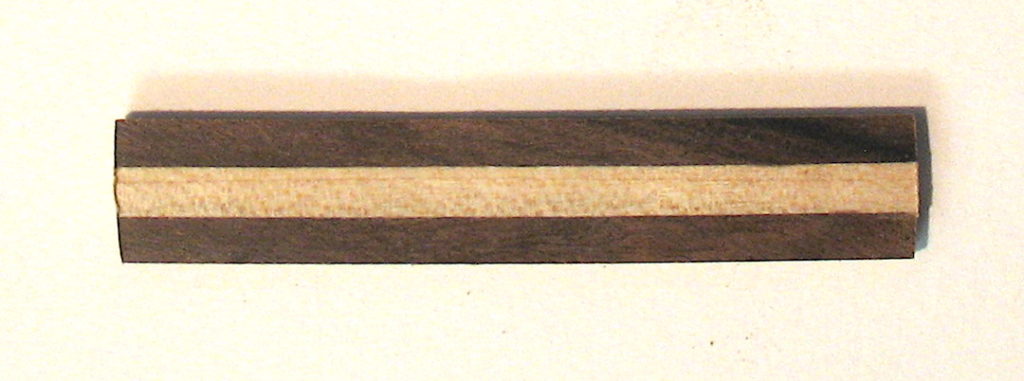
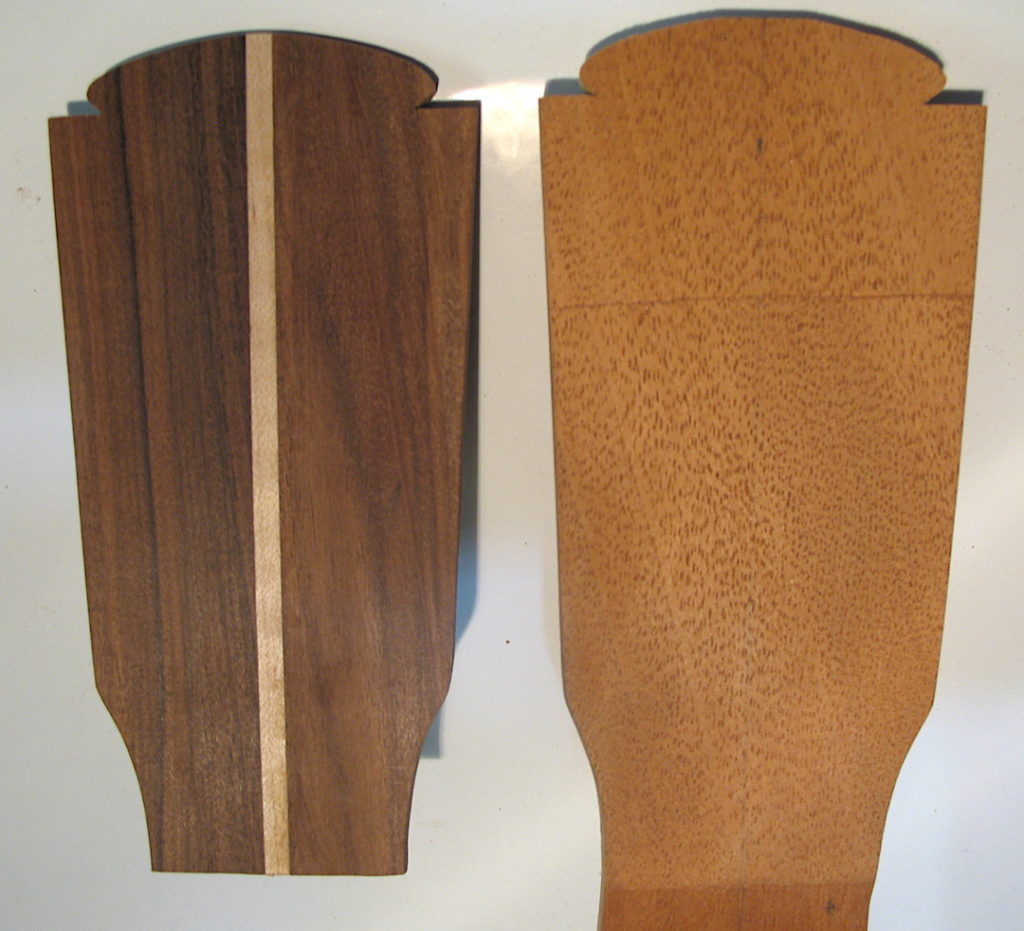
19 Feb 2018: I completed an overlay piece for the headstock consisting of two pieces of rosewood with a maple stripe up the center.
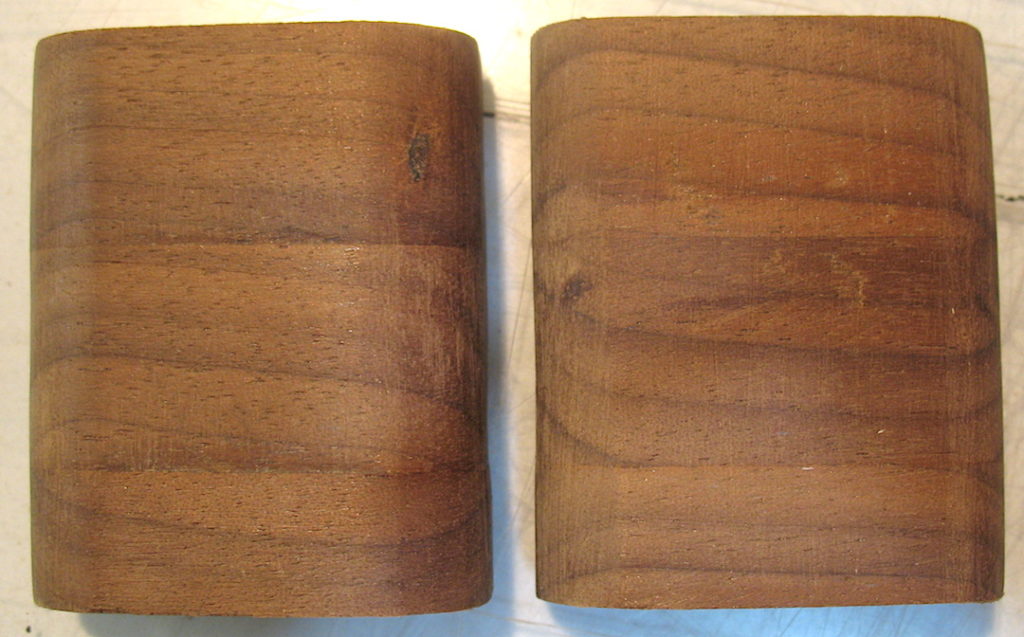
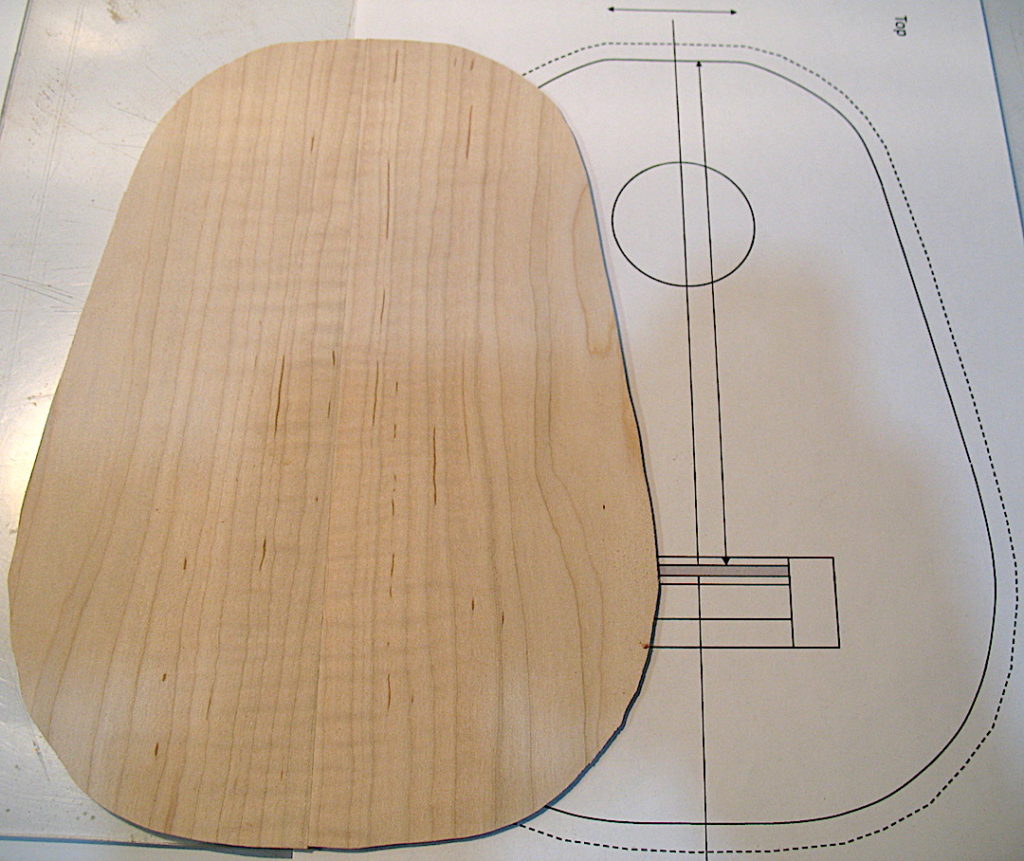
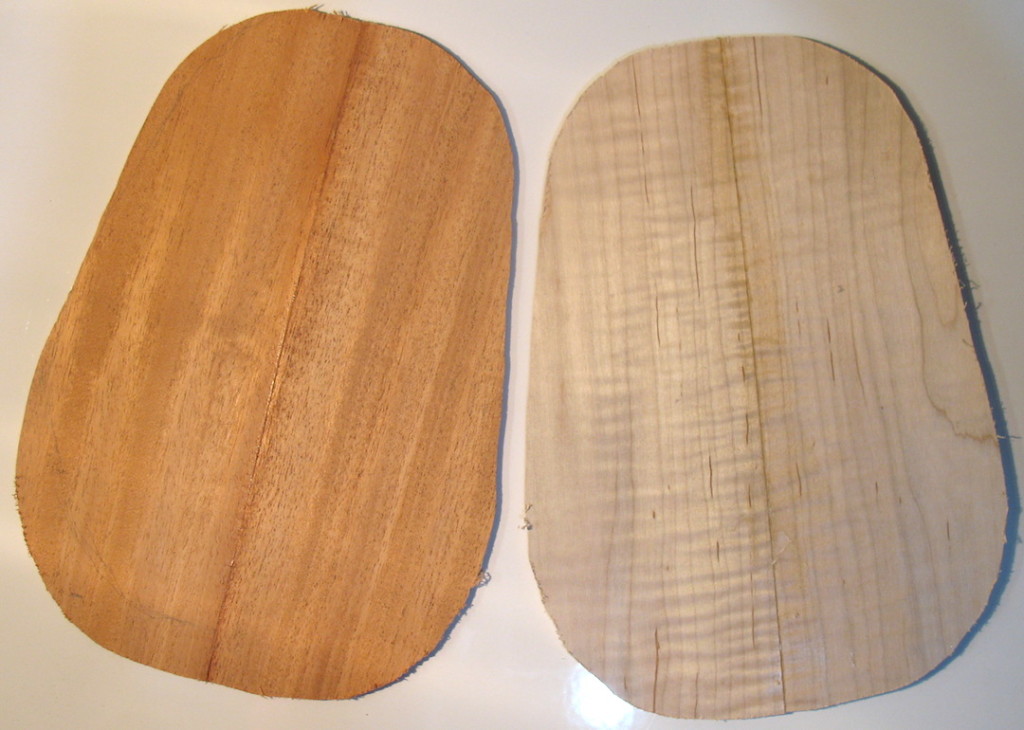
17 Feb 2018: Bottom (left) and top (right) ready for sanding. They’re approximately 1/2″ larger (all of the way around) than the final dimensions. The excess will be trimmed off after they’re glued to the sides. These boards are 1/8” thick, and the final thickness will be 1/16”. Later the following day I started sanding the mahogany bottom and got it almost to thickness before quitting for the day.
17 Feb 2018: Gluing curly maple top together.
17 Feb 2018: Two-piece curly maple top ready for gluing.
17 Feb 2018: Two-piece mahogany bottom ready for gluing.
17 Feb 2018: Beveled termination on the fretboard.
17 Feb 2018: The neck with rosewood fretboard taped in place.
11 Feb 2018: Had to take a break in the action due to three back-to-back colds. The rough cut neck (bottom) and after coarse sanding (top).
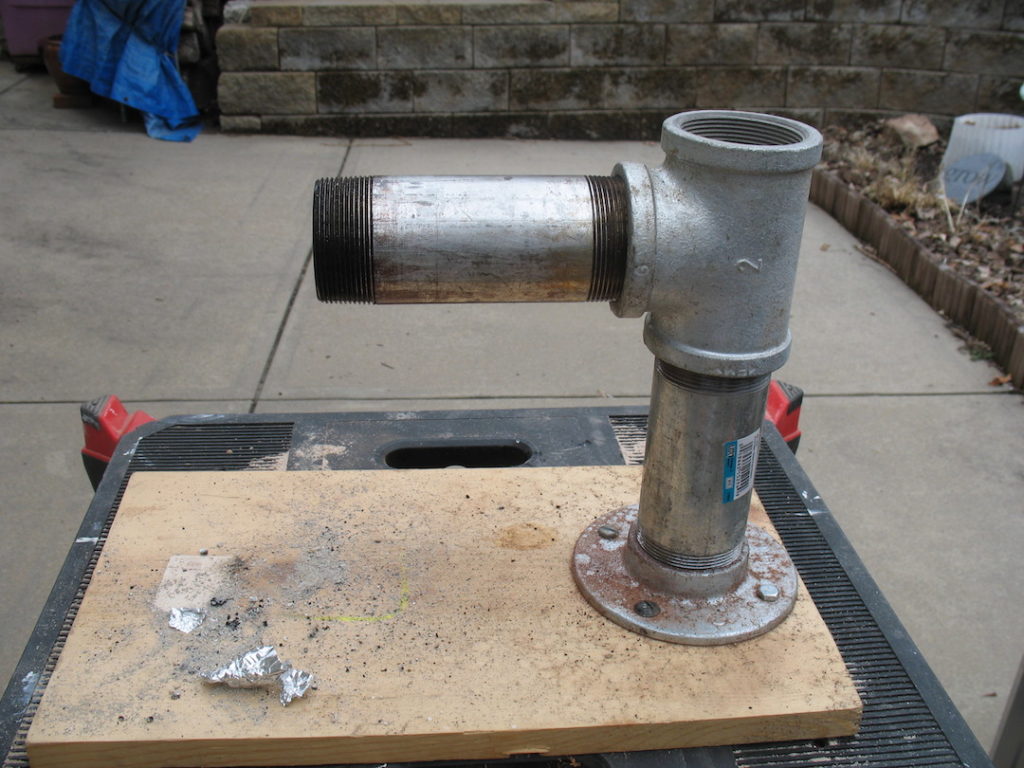
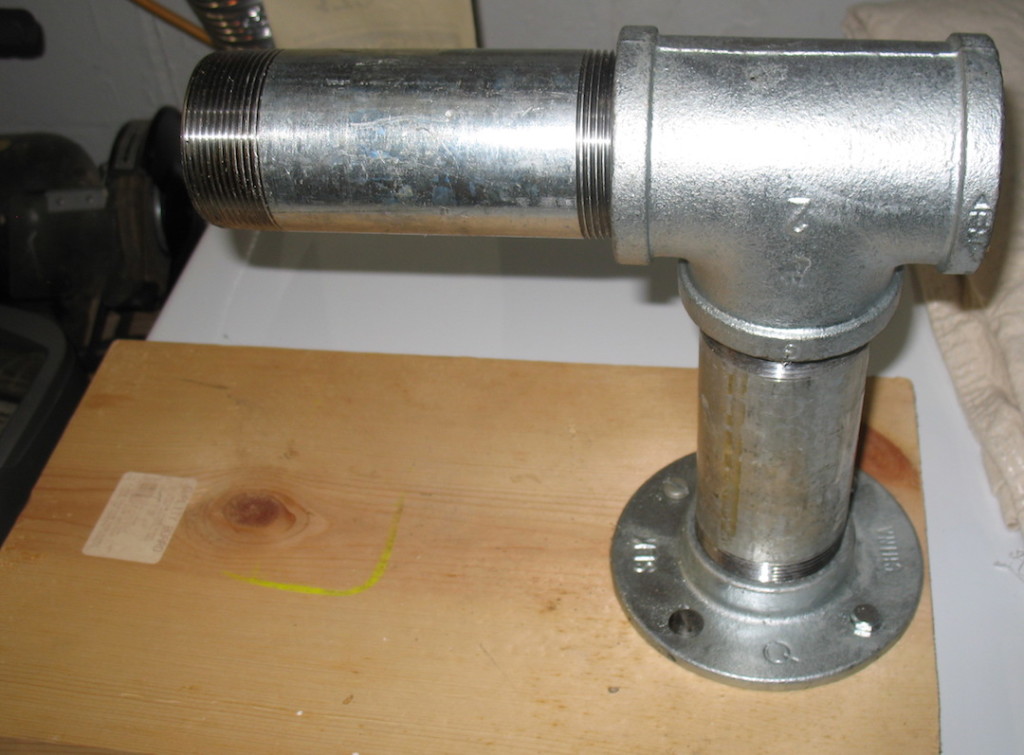
15 Jan 2018: This homemade contraption is a primitive heat bender for the sides of the ukulele. It’s made of 2-inch galvanized pipe fittings. It’s heated by placing hot charcoal in the horizontal pipe. Don’t try this indoors!
13 Jan 2018: The neck blank, with three ¾” stacked pieces for the heel and same for the headstock (though the headstock only utilized the upper two layers).
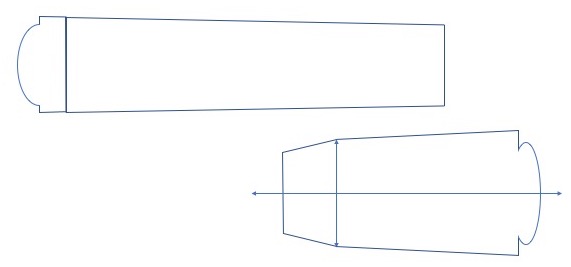
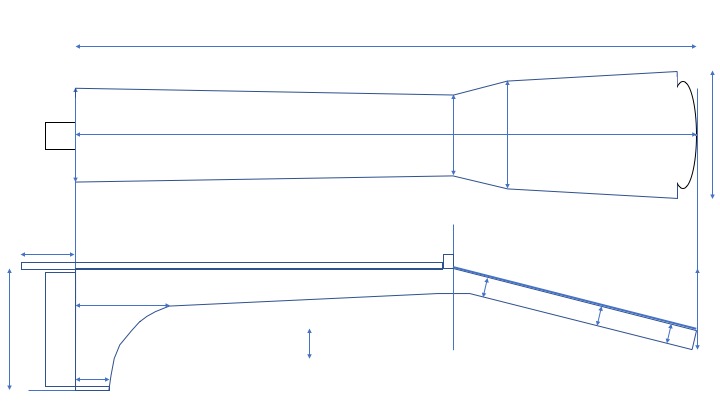
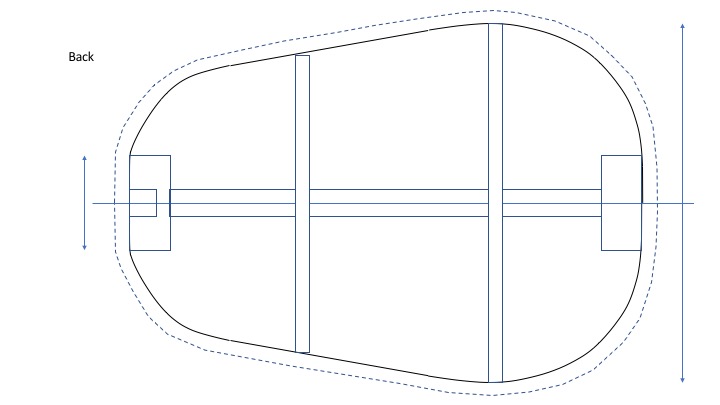
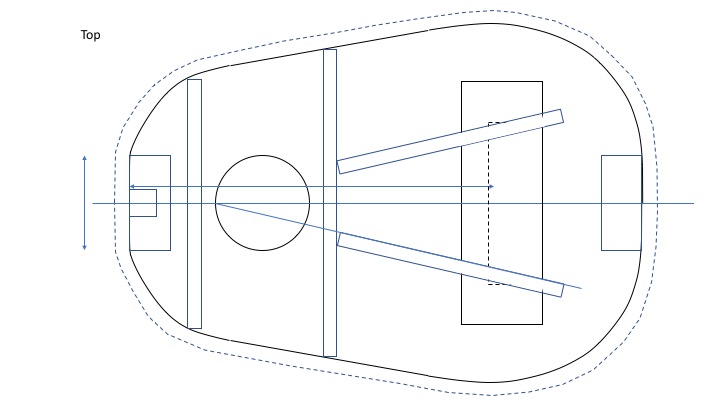
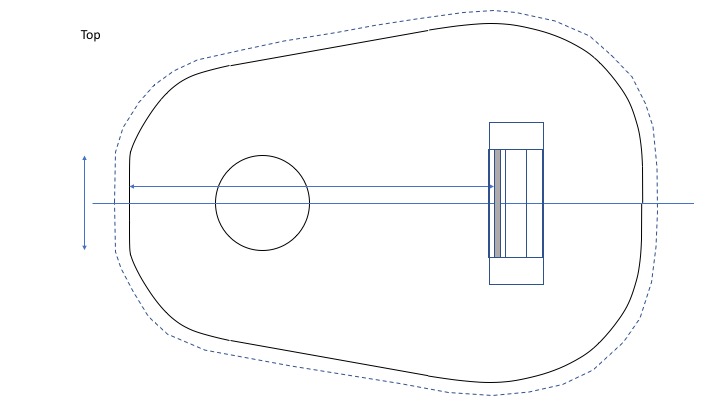
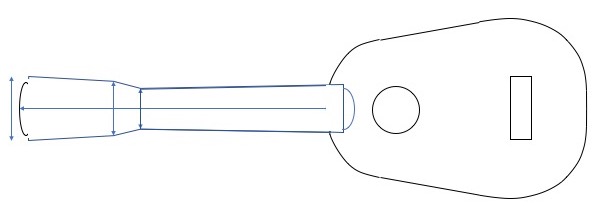
Various drawings of the ukulele created on Microsoft Powerpoint. The inspiration for the shape of the body was a 1950s Gold label Kamaka pineapple ukulele. Gold label pineapple ukes came in a couple of variations: one with a rounder shape and one with straighter sides. I chose to use straighter sides, because they require less bend over the length of the side. The ideas for the headstock and the fretboard termination came out of my head.
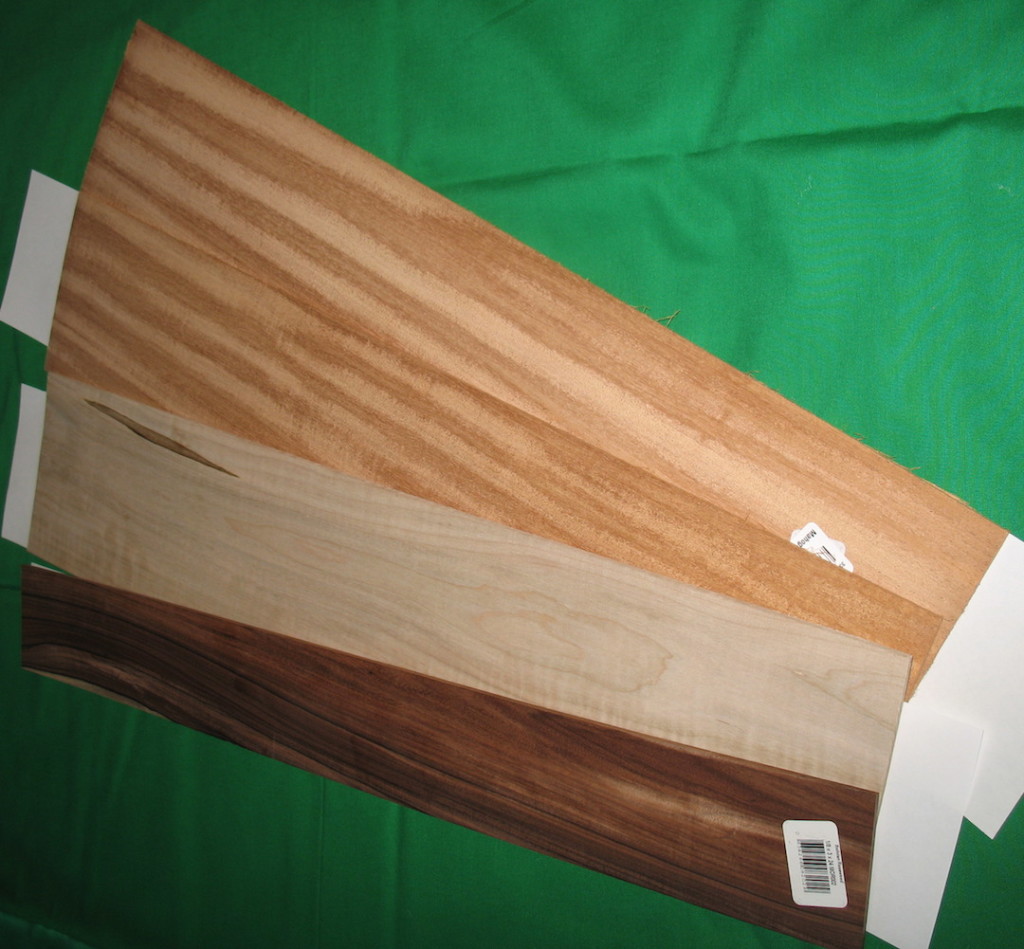
13 Jan 2018: After getting a feel for the quantity and type of wood I would need, the first step was a visit to Midwest Woodworkers in Omaha, where I purchased the boards shown above: two of nicely grained mahogany, and one each of curly maple and Bolivian rosewood. Not shown in its original state is a ¾” thick board of mahogany for the neck (shown further above after being glued together for the neck blank). Aside from the mahogany for the neck, the body top will be two-piece curly maple; the bottom, two-piece mahogany; the sides, two-piece mahogany; and the fretboard, rosewood.
